Listen up, tech enthusiasts and Raspberry Pi aficionados! If you've ever wondered how to take full control of your Raspberry Pi devices remotely, you're in the right place. Raspberry Pi remote device management is not just a buzzword; it's a game-changer for hobbyists, developers, and professionals alike. Imagine being able to monitor, configure, and troubleshoot your Pi projects from anywhere in the world. Sounds cool, right? Well, buckle up because we're diving deep into this topic, and by the end, you'll have all the tools and knowledge you need to master remote management like a pro.
In today's hyper-connected world, managing devices remotely is more than just convenient—it’s essential. Whether you're running a home automation system, a weather station, or a fleet of IoT devices, having the ability to manage them remotely can save you time, money, and a whole lot of headaches. And let’s face it, who doesn’t want to impress their friends by controlling their smart home setup from the other side of the planet?
But before we get into the nitty-gritty, let me set the stage for you. This guide isn’t just another run-of-the-mill tutorial. It’s packed with practical tips, step-by-step instructions, and real-world examples to help you conquer Raspberry Pi remote device management like a boss. So, grab your favorite beverage, sit back, and let’s get started!
Read also:Camilla Arauacutejo Height The Untold Story Behind The Rising Star
Table of Contents
- What is Raspberry Pi Remote Device Management?
- Benefits of Remote Management
- Tools for Remote Management
- Step-by-Step Guide to Set Up Remote Access
- Securing Your Remote Connection
- Troubleshooting Common Issues
- Best Practices for Raspberry Pi Remote Management
- Real-World Applications
- Frequently Asked Questions
- Conclusion
What is Raspberry Pi Remote Device Management?
Alright, let’s break it down. Raspberry Pi remote device management refers to the process of controlling, monitoring, and maintaining your Raspberry Pi devices from a remote location. This could mean accessing your Pi over your local network or even through the internet from anywhere in the world. Think of it as giving your Raspberry Pi a virtual handshake from afar.
But why is this important? Well, in today’s tech-driven world, the ability to manage devices remotely isn’t just a luxury—it’s a necessity. Whether you’re tinkering with IoT projects, managing server setups, or running a home automation system, being able to access and control your Pi remotely can save you tons of time and effort. Plus, it’s just plain cool!
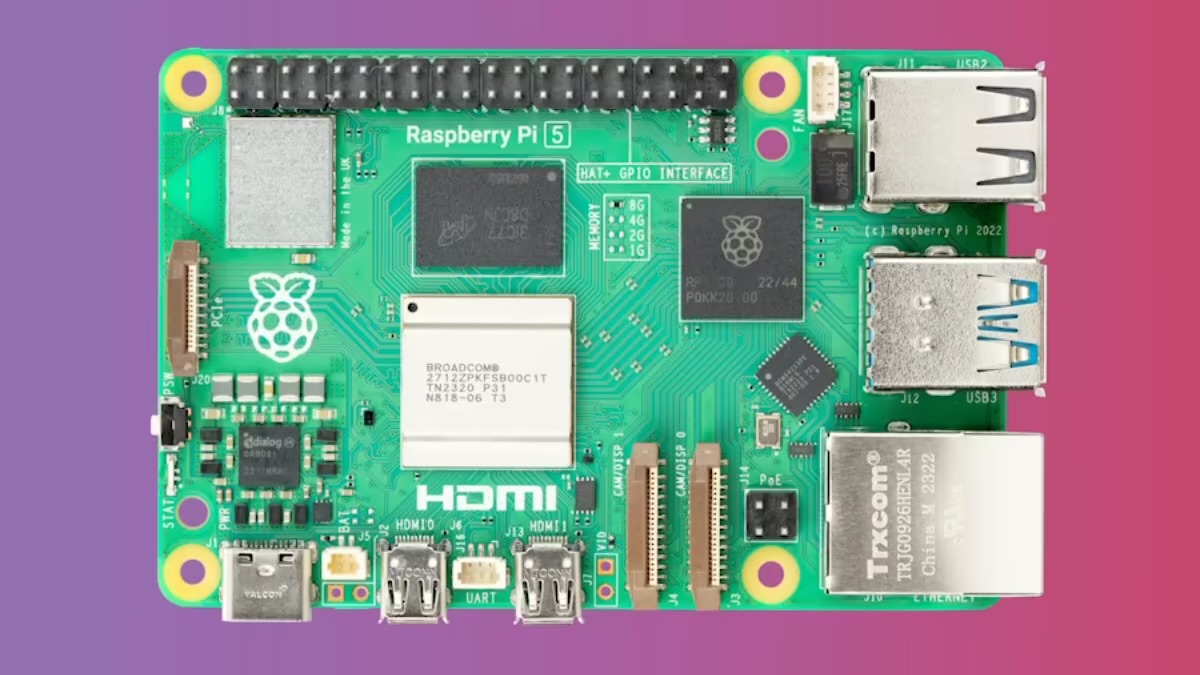
Why Raspberry Pi?
Raspberry Pi has become the go-to platform for hobbyists, educators, and professionals alike. Its affordability, versatility, and community support make it an ideal choice for a wide range of projects. And when it comes to remote management, the Pi’s flexibility shines even brighter. With the right tools and setup, you can turn your Raspberry Pi into a powerhouse of remote accessibility.
Benefits of Remote Management
Now that we’ve established what Raspberry Pi remote device management is, let’s talk about why it’s worth your time and effort. Here are some of the top benefits:
- Increased Efficiency: No more running back and forth to physically access your devices. You can monitor and manage everything from the comfort of your desk.
- Cost Savings: Remote management eliminates the need for on-site visits, which can save you a ton of money in the long run.
- Improved Accessibility: Whether you’re at home, at work, or on vacation, you can access your Raspberry Pi devices anytime, anywhere.
- Enhanced Security: With the right tools and practices, you can ensure that your remote connections are secure and protected from unauthorized access.
These benefits make Raspberry Pi remote device management a must-have skill for anyone working with these versatile devices.
Tools for Remote Management
When it comes to managing your Raspberry Pi remotely, having the right tools is key. Here are some of the most popular and effective tools you can use:
Read also:Mary Burke Wikipedia The Life Career And Influence Of A Remarkable Woman
SSH (Secure Shell)
SSH is one of the most common methods for remotely accessing Raspberry Pi devices. It allows you to securely connect to your Pi via the command line and execute commands as if you were physically there. Plus, it’s built into most Linux distributions, so you don’t need to install anything extra.
VNC (Virtual Network Computing)
If you prefer a graphical interface over the command line, VNC is the way to go. This tool lets you remotely access your Raspberry Pi’s desktop environment, giving you full control over its graphical interface.
Web-Based Interfaces
For those who want an even simpler solution, web-based interfaces like Pi-hole or Home Assistant offer a user-friendly way to manage your Raspberry Pi devices through a browser. These interfaces are great for beginners and those who prefer a more visual approach.
Step-by-Step Guide to Set Up Remote Access
Ready to get your hands dirty? Let’s walk through the steps to set up remote access for your Raspberry Pi. We’ll cover both SSH and VNC methods, so you can choose the one that works best for you.
Setting Up SSH
Here’s how you can enable SSH on your Raspberry Pi:
- Boot up your Raspberry Pi and log in.
- Open the terminal and type
sudo raspi-config. - Navigate to
Interfacing Optionsand selectSSH. - Choose
Yesto enable SSH. - Reboot your Pi to apply the changes.
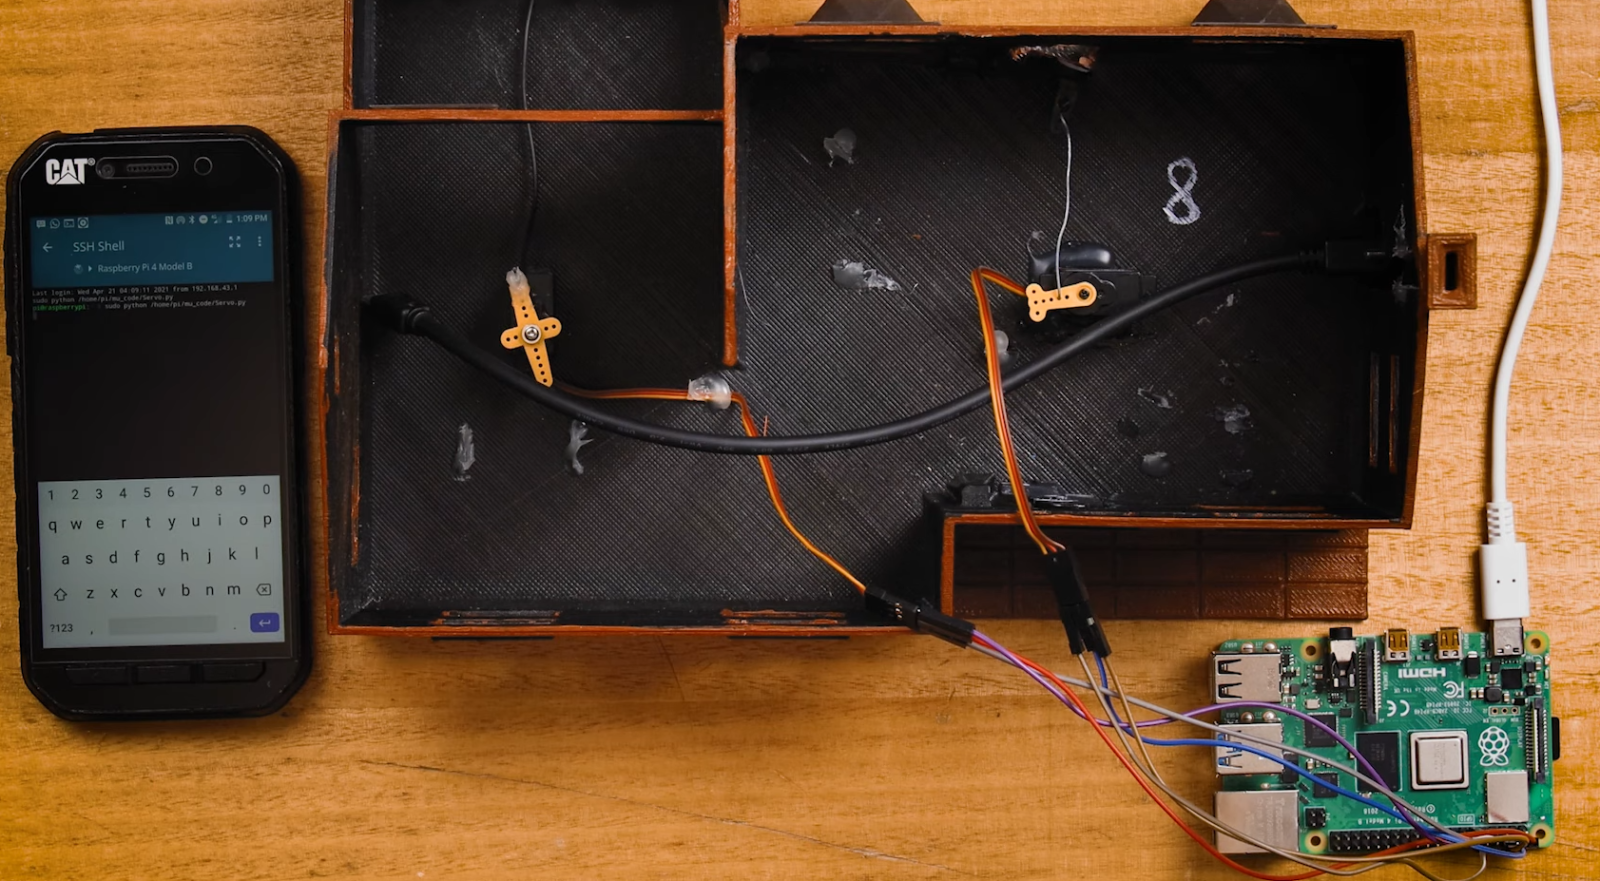
Once SSH is enabled, you can connect to your Pi from another device using an SSH client like PuTTY (for Windows) or the built-in terminal on macOS and Linux.
Setting Up VNC
Setting up VNC is just as easy:
- Install the VNC server on your Raspberry Pi by running
sudo apt install realvnc-vnc-server. - Enable VNC by running
sudo raspi-configand navigating toInterfacing Options>VNC. - Download the VNC Viewer app on your computer or mobile device.
- Enter your Raspberry Pi’s IP address and connect.
With VNC set up, you’ll have full graphical access to your Raspberry Pi from anywhere.
Securing Your Remote Connection
Security should always be a top priority when managing devices remotely. Here are some tips to keep your Raspberry Pi safe:
- Use Strong Passwords: Avoid using weak or default passwords. Opt for strong, unique passwords that include a mix of letters, numbers, and symbols.
- Enable Two-Factor Authentication: If your remote access tool supports it, enable two-factor authentication for an extra layer of security.
- Firewall Protection: Configure a firewall to restrict access to your Raspberry Pi and only allow connections from trusted IP addresses.
- Regular Updates: Keep your Raspberry Pi’s software and firmware up to date to protect against vulnerabilities.
By following these best practices, you can ensure that your remote connections are secure and protected from potential threats.
Troubleshooting Common Issues
Even the best-laid plans can hit a snag. Here are some common issues you might encounter when setting up Raspberry Pi remote device management and how to fix them:
- Unable to Connect: Double-check your IP address and ensure that SSH or VNC is properly enabled on your Raspberry Pi.
- Connection Timeout: Make sure your network connection is stable and that there are no firewall rules blocking your access.
- Authentication Failed: Verify that you’re using the correct username and password. If you’ve changed your password recently, make sure to update it in your remote access tool.
If you’re still stuck, don’t hesitate to consult the official Raspberry Pi documentation or reach out to the vibrant community of Pi enthusiasts for help.
Best Practices for Raspberry Pi Remote Management
To get the most out of your Raspberry Pi remote device management setup, here are some best practices to keep in mind:
- Plan Ahead: Before diving into remote management, take the time to plan out your setup and determine which tools and methods will work best for your specific needs.
- Document Everything: Keep detailed notes on your setup process, including IP addresses, passwords, and any custom configurations you make. This will save you time and frustration down the road.
- Test Thoroughly: Once your setup is complete, test it thoroughly to ensure everything is working as expected. Don’t be afraid to tweak and adjust until you’re completely satisfied.
By following these best practices, you’ll be well on your way to mastering Raspberry Pi remote device management.
Real-World Applications
Now that you know how to set up and secure your Raspberry Pi for remote management, let’s explore some real-world applications:
- Home Automation: Use your Raspberry Pi to control smart home devices like lights, thermostats, and security systems from anywhere in the world.
- IoT Projects: Manage fleets of IoT devices for applications like weather monitoring, agricultural automation, and environmental sensing.
- Server Management: Turn your Raspberry Pi into a lightweight server and manage it remotely for tasks like file sharing, media streaming, and web hosting.
The possibilities are endless, and with the right skills, you can create amazing projects that truly showcase the power of Raspberry Pi remote device management.
Frequently Asked Questions
Here are some common questions about Raspberry Pi remote device management:
- Can I access my Raspberry Pi from anywhere in the world? Yes, as long as you have an internet connection and the proper setup, you can access your Raspberry Pi from anywhere.
- Do I need to be tech-savvy to manage my Raspberry Pi remotely? Not necessarily. While some technical knowledge is helpful, many tools and resources are available to make remote management accessible to beginners.
- What are some security risks I should be aware of? The main risks include unauthorized access, weak passwords, and unsecured connections. Always follow best practices to minimize these risks.
Conclusion
And there you have it, folks—a comprehensive guide to mastering Raspberry Pi remote device management. From setting up SSH and VNC to securing your connections and exploring real-world applications, we’ve covered everything you need to know to take your Raspberry Pi projects to the next level.
So, what are you waiting for? Dive in, experiment, and unleash the full potential of your Raspberry Pi. And don’t forget to share your experiences and creations with the community. Who knows? You might just inspire someone else to embark on their own Raspberry Pi journey. Happy tinkering, and see you on the other side!