Let's talk about Raspberry Pi SSH tunnel proxy, folks. If you're looking for a way to secure your online activity or access blocked websites, this little device might just become your best friend. It's like having a secret passageway to the internet, but instead of sneaking around, you're protecting your privacy and data.
Now, I know what you're thinking. "Is this really necessary?" or "Isn't this overkill for my everyday browsing?" Well, hold on tight because I’m about to break it down for you. In today’s world, where cybersecurity threats are lurking everywhere, setting up a Raspberry Pi SSH tunnel proxy can be a game-changer. It’s not just for tech geeks or IT professionals; it’s for anyone who wants to keep their online activity safe and private.
Think of it like locking your house before you go out. You wouldn’t leave your doors wide open, right? Similarly, why would you expose your internet traffic to potential hackers or snoopers? Let’s dive in and explore why Raspberry Pi SSH tunnel proxy is worth your time and how you can set it up like a pro.
Read also:Dream High Korean Drama A Journey Of Dreams And Aspirations
What is Raspberry Pi SSH Tunnel Proxy Anyway?
Alright, let’s start with the basics. A Raspberry Pi SSH tunnel proxy is essentially a setup where you use a Raspberry Pi as a middleman to route your internet traffic through an encrypted SSH connection. This means your data gets encrypted before it leaves your device and stays encrypted until it reaches its destination. Pretty cool, huh?
SSH stands for Secure Shell, and it’s a protocol designed to securely access remote computers or servers. When you combine this with a Raspberry Pi, you get a portable, affordable, and powerful tool for securing your online presence. Whether you’re working from a coffee shop, traveling abroad, or just want to browse the web without being tracked, this setup can help you stay safe.
Here’s the best part: Raspberry Pi is super affordable. You don’t need to spend a fortune on expensive hardware to protect your data. With just a little bit of tech know-how, you can turn this tiny device into your personal security guard.
Why Use Raspberry Pi for SSH Tunneling?
So, why Raspberry Pi? Why not just use a regular computer or some other device? Great question! Let me give you a few reasons why Raspberry Pi is the perfect choice for SSH tunneling:
- Cost-Effective: Raspberry Pi is dirt cheap compared to most computers. You can get one for around $35, which is a steal when you consider the benefits.
- Low Power Consumption: This little guy doesn’t guzzle electricity like a regular PC. You can leave it running 24/7 without worrying about skyrocketing electricity bills.
- Compact and Portable: Need something small that you can carry around? Raspberry Pi fits in your pocket and can be set up almost anywhere.
- Versatile: Not only can you use it for SSH tunneling, but it’s also great for tons of other projects. Think home automation, media centers, and more.
So, if you’re looking for a budget-friendly, energy-efficient, and versatile solution, Raspberry Pi is definitely worth considering.
Benefits of Setting Up Raspberry Pi SSH Tunnel Proxy
Now that we’ve covered what it is and why Raspberry Pi is a great choice, let’s talk about the benefits of setting up this setup. Here’s what you can expect:
Read also:Decoding Masa049 The Ultimate Guide To Understanding Its Impact And Relevance
1. Enhanced Security
With an SSH tunnel proxy, your data is encrypted from end to end. This means that even if someone intercepts your traffic, they won’t be able to make sense of it. It’s like speaking in code—only you and the server understand what’s being said.
2. Privacy Protection
Your ISP or anyone else trying to snoop on your online activity won’t be able to see what you’re doing. They’ll only see that you’re connected to the SSH server, but the actual content of your traffic will remain hidden.
3. Access to Blocked Websites
If you’re in a country with strict internet censorship or working in an environment where certain websites are blocked, an SSH tunnel proxy can help you bypass these restrictions. It’s like having a secret key to unlock the internet.
4. Remote Access
Setting up an SSH tunnel also allows you to access your Raspberry Pi remotely. This means you can control it from anywhere in the world, as long as you have an internet connection.
How Does Raspberry Pi SSH Tunnel Proxy Work?
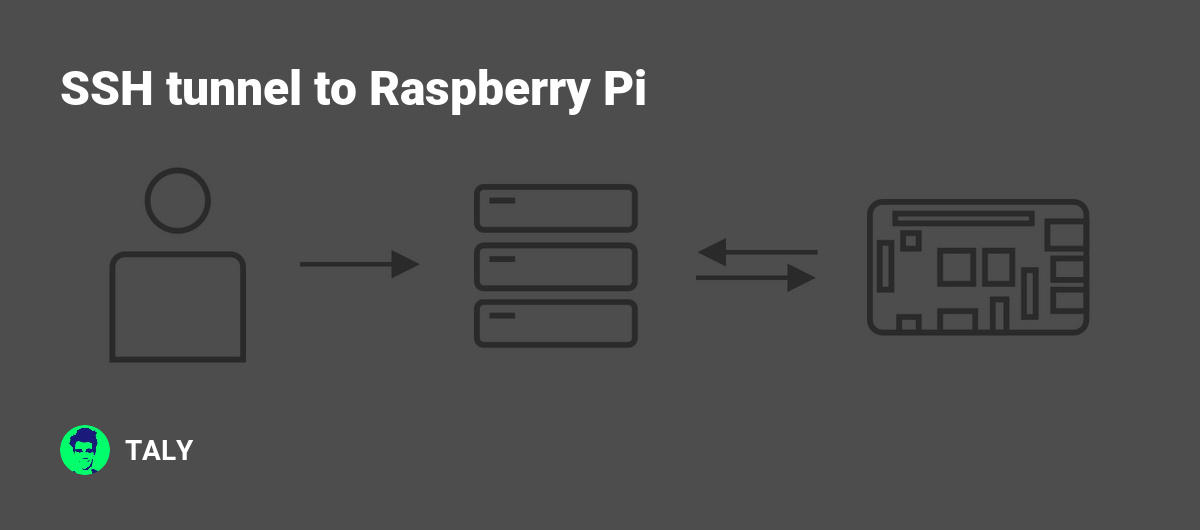
Let’s get into the nitty-gritty of how this setup works. When you connect to the internet through a Raspberry Pi SSH tunnel proxy, here’s what happens:
- Your device sends data to the Raspberry Pi via an encrypted SSH connection.
- The Raspberry Pi then forwards this data to its destination on the internet.
- The response from the destination is sent back to the Raspberry Pi, which then forwards it to your device.
Throughout this process, your data remains encrypted, making it much harder for anyone to intercept or decipher. It’s like having a personal courier service that ensures your packages (data) are delivered safely and securely.
Step-by-Step Guide to Setting Up Raspberry Pi SSH Tunnel Proxy
Ready to set up your own Raspberry Pi SSH tunnel proxy? Follow these steps, and you’ll be up and running in no time:
Step 1: Gather Your Materials
Before you begin, make sure you have the following:
- Raspberry Pi (any model will do, but newer models are faster and more powerful)
- MicroSD card with Raspberry Pi OS installed
- Power supply for Raspberry Pi
- Network connection (Wi-Fi or Ethernet)
Step 2: Install Raspberry Pi OS
If you haven’t already, download and install Raspberry Pi OS on your microSD card. You can use a tool like Raspberry Pi Imager to make this process easy.
Step 3: Enable SSH
SSH needs to be enabled on your Raspberry Pi for this setup to work. You can do this by:
- Using the Raspberry Pi Configuration tool in the desktop version of Raspberry Pi OS.
- Adding an empty file named "ssh" to the boot partition of the microSD card if you’re using the headless version.
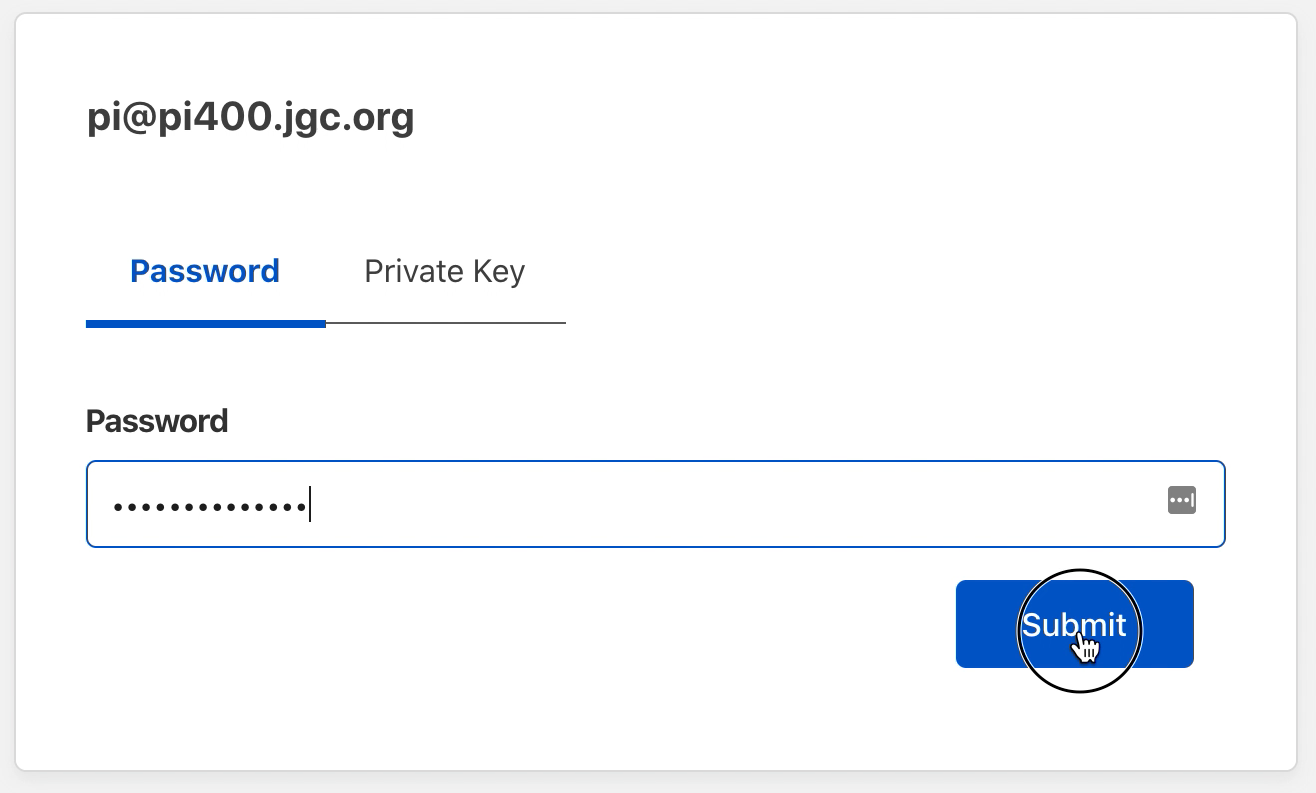
Step 4: Connect to Your Raspberry Pi
Once SSH is enabled, you can connect to your Raspberry Pi from another device using an SSH client like PuTTY (Windows) or the built-in terminal (Mac/Linux). Use the IP address of your Raspberry Pi to establish the connection.
Step 5: Set Up the SSH Tunnel
Now it’s time to create the actual tunnel. Use the following command in your SSH client:
ssh -D [port] [username]@[raspberrypi_ip]
Replace [port] with the port number you want to use (e.g., 1080), [username] with your Raspberry Pi username, and [raspberrypi_ip] with the IP address of your Raspberry Pi.
Step 6: Configure Your Browser
Finally, configure your browser to use the SOCKS proxy. Set the host to "localhost" and the port to the one you specified earlier (e.g., 1080). Now, all your browser traffic will be routed through the SSH tunnel.
Troubleshooting Common Issues
Even with the best-laid plans, things can go wrong. Here are some common issues you might encounter and how to fix them:
1. Unable to Connect to Raspberry Pi
Make sure your Raspberry Pi is connected to the same network as your device and that SSH is enabled. Double-check the IP address and try pinging it from your device.
2. Slow Internet Speed
Raspberry Pi isn’t the fastest device out there, so you might notice a slight decrease in speed. Try using a faster Raspberry Pi model or optimizing your network settings.
3. Proxy Not Working
Verify that your browser is correctly configured to use the SOCKS proxy. Also, ensure that the SSH tunnel is active and that there are no firewall rules blocking the connection.
Best Practices for Raspberry Pi SSH Tunnel Proxy
To get the most out of your Raspberry Pi SSH tunnel proxy, here are some best practices to follow:
- Use strong passwords for your SSH connection to prevent unauthorized access.
- Regularly update your Raspberry Pi OS to ensure you have the latest security patches.
- Consider using a static IP address for your Raspberry Pi to make it easier to connect.
- Monitor your network traffic to ensure everything is working as expected.
By following these tips, you can ensure that your setup is secure, reliable, and efficient.
Real-World Use Cases for Raspberry Pi SSH Tunnel Proxy
So, how can you use this setup in real life? Here are a few examples:
1. Secure Remote Work
If you’re working from home or traveling, an SSH tunnel proxy can help you securely access your office network or sensitive files without compromising your data.
2. Bypassing Censorship
In countries where certain websites are blocked, an SSH tunnel proxy can help you access them freely and without restrictions.
3. Protecting Public Wi-Fi
When using public Wi-Fi, an SSH tunnel proxy can encrypt your traffic and protect you from potential threats like man-in-the-middle attacks.
Conclusion
And there you have it, folks. Raspberry Pi SSH tunnel proxy is a powerful tool that can enhance your online security, protect your privacy, and give you access to blocked websites. It’s easy to set up, cost-effective, and versatile, making it a great choice for anyone looking to take control of their online presence.
So, what are you waiting for? Grab your Raspberry Pi, follow the steps outlined in this guide, and start securing your internet connection today. Don’t forget to share this article with your friends and leave a comment below if you have any questions or feedback. Let’s keep the internet safe and private, one Raspberry Pi at a time!
Table of Contents
- What is Raspberry Pi SSH Tunnel Proxy Anyway?
- Why Use Raspberry Pi for SSH Tunneling?
- Benefits of Setting Up Raspberry Pi SSH Tunnel Proxy
- How Does Raspberry Pi SSH Tunnel Proxy Work?
- Step-by-Step Guide to Setting Up Raspberry Pi SSH Tunnel Proxy
- Troubleshooting Common Issues
- Best Practices for Raspberry Pi SSH Tunnel Proxy
- Real-World Use Cases for Raspberry Pi SSH Tunnel Proxy
- Conclusion