Hey there, tech wizards and Raspberry Pi enthusiasts! If you're diving into the world of remote desktop connections with your RPi3 VNC server, you're probably aware that security is a big deal. But how do you ensure your setup is bulletproof against hackers and other digital threats? Let's break it down step by step so you can keep your RPi3 VNC server secure without losing your mind.
Imagine this: you’ve set up your Raspberry Pi 3 and installed a VNC server to remotely access your device from anywhere. Sounds convenient, right? But here's the catch—convenience doesn't always come without risks. If your security measures are weak, you're basically rolling out the red carpet for cybercriminals who might want to mess with your system. Yikes!
Now, don’t freak out. This article isn’t just another scare tactic. We’re here to guide you through the process of securing your RPi3 VNC server like a pro. Whether you're a seasoned tech expert or just starting out, this guide will cover everything you need to know. So grab a cup of coffee, sit back, and let’s dive in.
Read also:Randy Ortons Son Age A Deep Dive Into The Legacy Of The Wwe Superstar
Why Security for RPi3 VNC Server Matters
Let's face it—your Raspberry Pi 3 isn't just some random gadget sitting in the corner of your room. It's a powerful little device that can run applications, store data, and even serve as a home server. But with great power comes great responsibility, especially when it comes to security.
A VNC server allows you to remotely control your Raspberry Pi from another computer. While this is incredibly useful, it also opens up potential vulnerabilities. If your VNC server isn’t properly secured, unauthorized users could gain access to your system, leading to data breaches, malware infections, or even complete system compromise. That's why understanding security for RPi3 VNC server is crucial.
Understanding the Basics of VNC Server Security
Before we jump into advanced security measures, let’s first understand the basics. VNC (Virtual Network Computing) works by transmitting screen updates and keyboard/mouse inputs over a network. While this is great for remote access, it also means that your data is being transmitted across the internet—or at least your local network.
Key Components to Secure
When securing your RPi3 VNC server, there are a few key components you need to focus on:
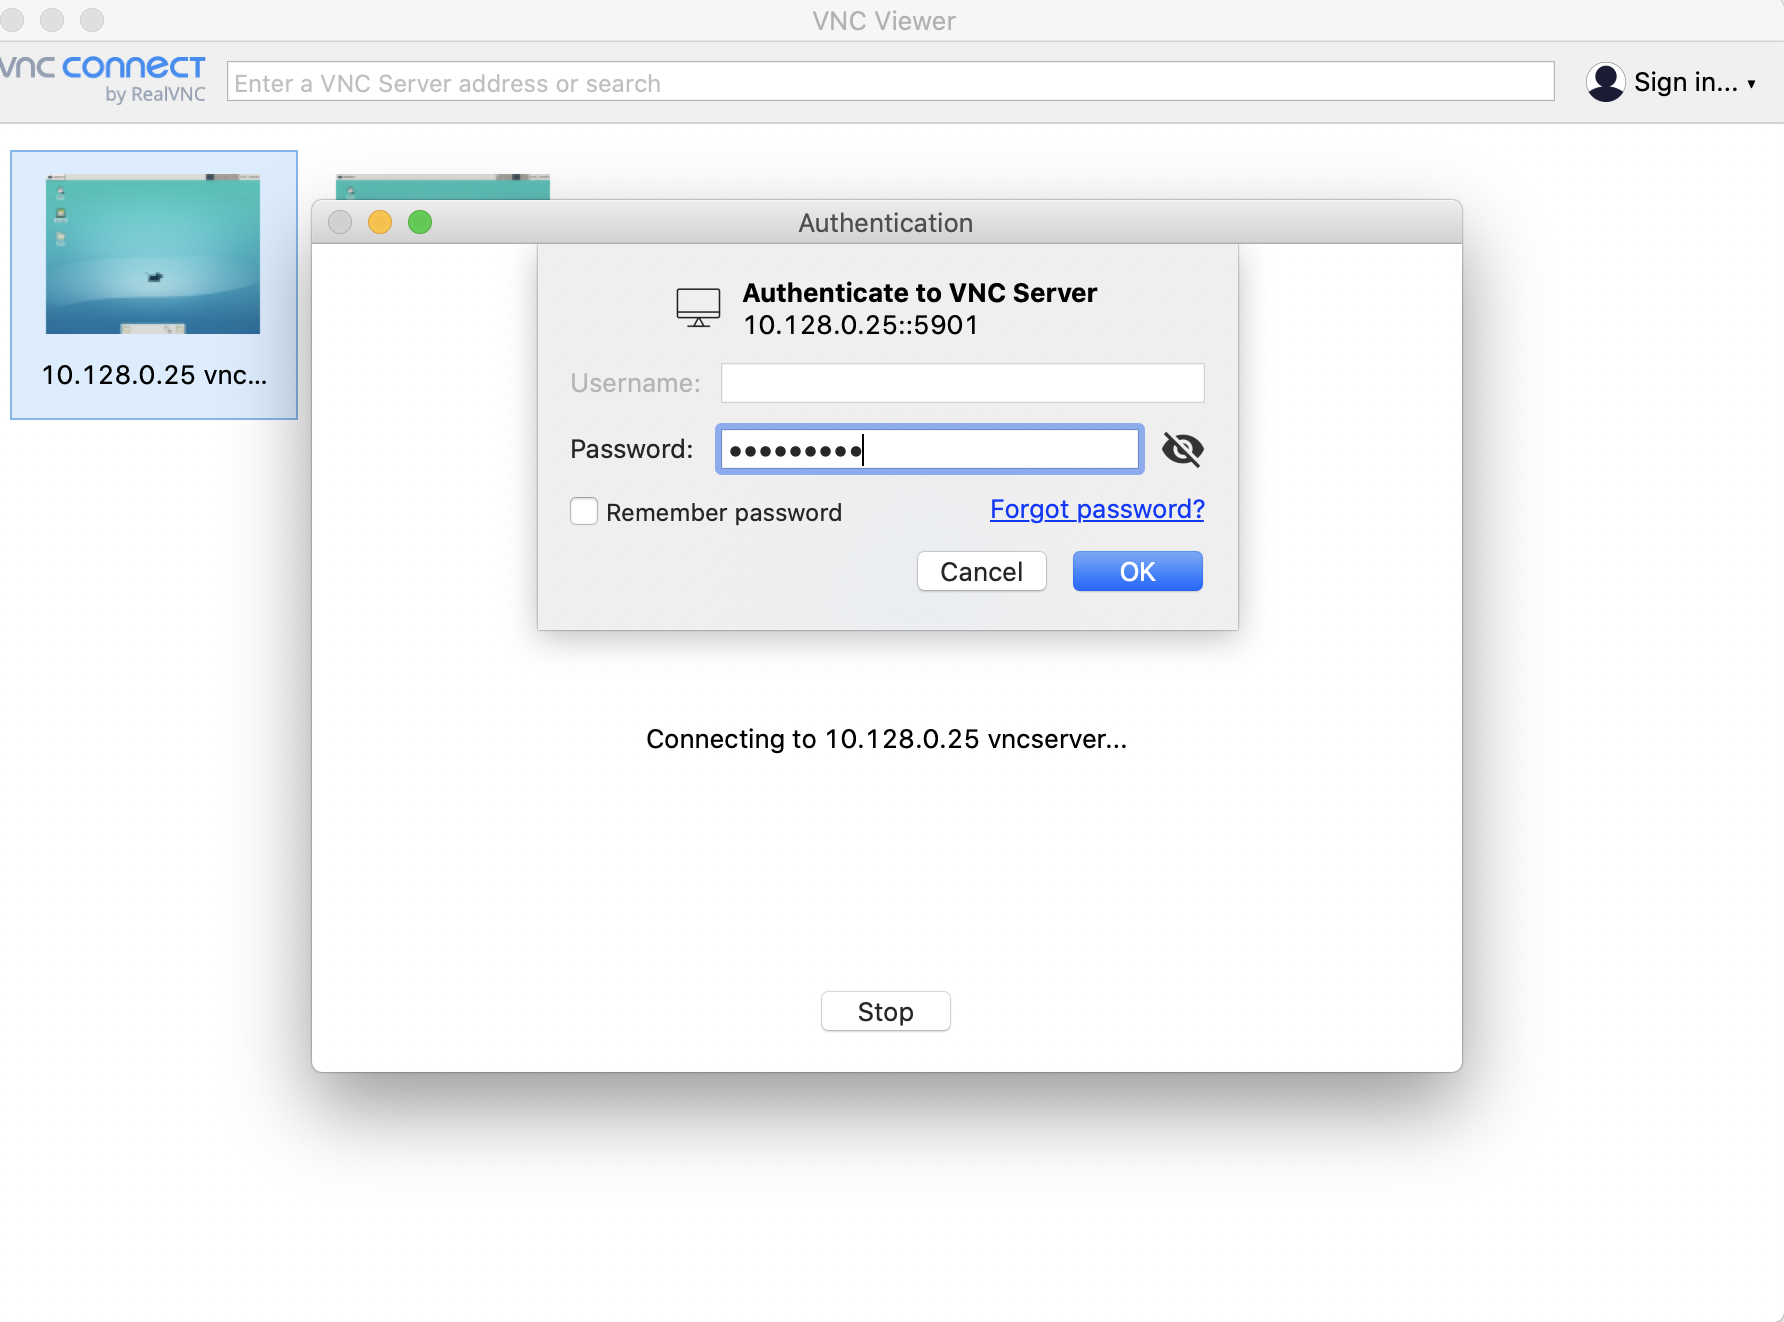
- VNC Authentication: Ensure only authorized users can log in by setting strong passwords and enabling encryption.
- Network Traffic: Protect your data in transit using secure protocols like SSH tunneling.
- Firewall Settings: Restrict access to your VNC server by configuring your firewall properly.
- User Permissions: Limit what users can do once they're logged in to prevent accidental or malicious damage.
Setting Up Strong Passwords for VNC
One of the simplest yet most effective ways to secure your RPi3 VNC server is by setting strong passwords. A strong password should be at least 12 characters long and include a mix of uppercase and lowercase letters, numbers, and special characters. Avoid using common phrases or easily guessable information like birthdays or pet names.
Here are a few tips for creating strong passwords:
Read also:Coco Ho Husband The Untold Story Of Love Surfing And Life In The Waves
- Use a password manager to generate and store complex passwords.
- Avoid reusing passwords across multiple accounts.
- Enable two-factor authentication (2FA) if supported by your VNC software.
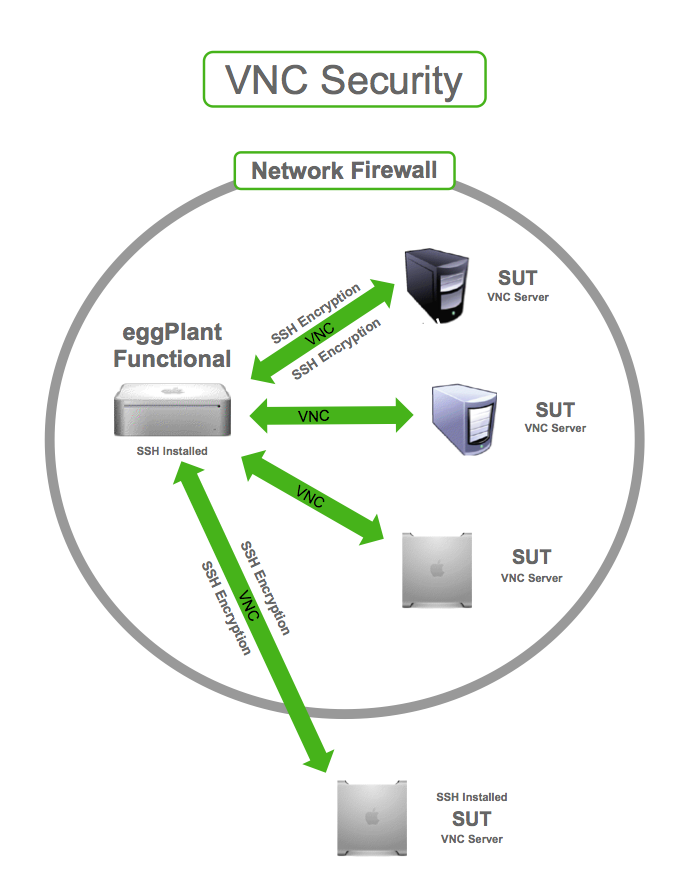
Encrypting VNC Connections
Encrypting your VNC connections is another critical step in securing your RPi3 VNC server. Encryption ensures that even if someone intercepts your data, they won’t be able to read it without the decryption key.
Using SSH Tunneling
SSH (Secure Shell) tunneling is a popular method for encrypting VNC connections. Here's how you can set it up:
- Install an SSH client on your remote computer (e.g., PuTTY for Windows or Terminal for macOS/Linux).
- Connect to your Raspberry Pi via SSH and forward the VNC port (usually 5900).
- Use your VNC client to connect to localhost instead of the IP address of your Raspberry Pi.
By tunneling your VNC connection through SSH, you add an extra layer of security to your setup.
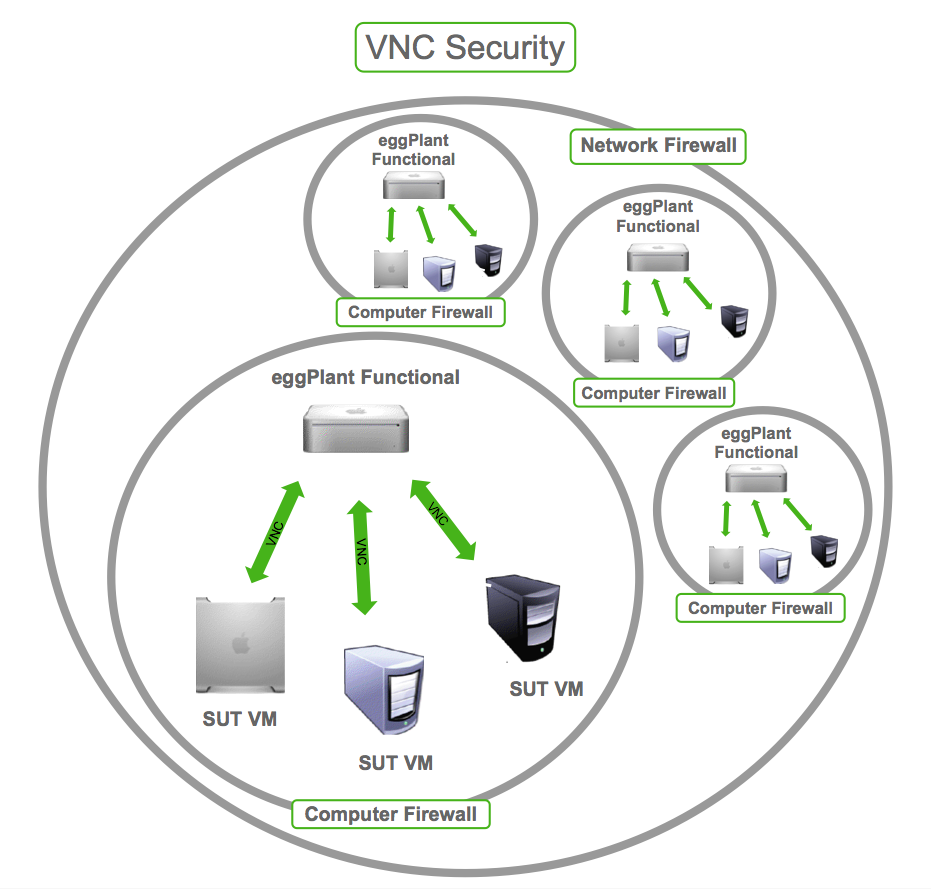
Configuring Firewall Settings
Your firewall acts as a gatekeeper, controlling which incoming and outgoing traffic is allowed. Properly configuring your firewall can significantly enhance the security of your RPi3 VNC server.
Steps to Configure Your Firewall
Here’s how you can configure your firewall on a Raspberry Pi:
- Install
ufw(Uncomplicated Firewall) if it’s not already installed. - Allow only necessary ports, such as SSH (port 22) and VNC (port 5900).
- Deny all other incoming connections to minimize the attack surface.
Remember, a well-configured firewall can block unauthorized access attempts and keep your system safe.
Limiting User Permissions
Even if someone gains access to your VNC server, you can limit the damage they can cause by restricting user permissions. By default, most VNC servers allow full access to the system, but you can change this by creating separate user accounts with limited privileges.
Here’s how you can create a new user with restricted permissions:
- Log in to your Raspberry Pi via SSH or directly.
- Run the command
sudo adduser usernameto create a new user. - Set a strong password for the new user.
- Use
sudo usermod -aG groupname usernameto assign the user to specific groups, limiting their access.
This way, even if an attacker gains access, they won’t have the ability to make system-wide changes.
Regularly Updating Your System
Keeping your system up to date is one of the best ways to protect against vulnerabilities. Software updates often include security patches that fix known issues and protect against new threats.
To update your Raspberry Pi, run the following commands:
sudo apt updatesudo apt upgrade
Make it a habit to check for updates regularly and apply them promptly. This simple step can save you from a lot of headaches down the line.
Monitoring and Logging
Monitoring your system and keeping logs can help you detect and respond to security incidents quickly. By reviewing logs, you can identify unauthorized access attempts and take appropriate action.
Tools for Monitoring
Here are a few tools you can use for monitoring your RPi3 VNC server:
- Fail2Ban: Automatically blocks IP addresses that show malicious signs.
- Logwatch: Generates daily reports summarizing log activity.
- Netdata: Provides real-time monitoring of system resources and network traffic.
These tools can give you valuable insights into your system’s security posture and help you stay one step ahead of potential threats.
Backing Up Your Data
No security measure is foolproof, which is why backing up your data is essential. If something goes wrong—whether it’s a hack, hardware failure, or accidental deletion—you’ll be glad you have a backup to fall back on.
Here’s how you can set up automatic backups for your Raspberry Pi:
- Install a backup tool like
rsyncorTimeshift. - Configure the tool to back up your important files to an external drive or cloud storage.
- Schedule regular backups using
cron.
Having a reliable backup strategy ensures that your data remains safe no matter what happens.
Common Mistakes to Avoid
Even with the best intentions, mistakes can happen. Here are a few common pitfalls to avoid when securing your RPi3 VNC server:
- Using weak or default passwords.
- Not enabling encryption for VNC connections.
- Leaving unnecessary ports open in your firewall.
- Ignoring software updates and security patches.
- Not monitoring your system for suspicious activity.
By avoiding these mistakes, you can significantly reduce the risk of security breaches.
Conclusion
Securing your RPi3 VNC server doesn’t have to be a daunting task. By following the steps outlined in this guide—setting strong passwords, encrypting connections, configuring firewalls, limiting user permissions, updating your system, monitoring logs, and backing up your data—you can create a robust security framework that protects your Raspberry Pi from potential threats.
So, what are you waiting for? Take action today and secure your RPi3 VNC server like a pro. And while you're at it, why not share this article with your fellow Raspberry Pi enthusiasts? Together, we can build a safer and more secure tech community. Happy tinkering, and stay secure out there!
Table of Contents
- Why Security for RPi3 VNC Server Matters
- Understanding the Basics of VNC Server Security
- Setting Up Strong Passwords for VNC
- Encrypting VNC Connections
- Configuring Firewall Settings
- Limiting User Permissions
- Regularly Updating Your System
- Monitoring and Logging
- Backing Up Your Data
- Common Mistakes to Avoid