Imagine this: You’ve set up your Raspberry Pi at home, installed everything perfectly, and now you want to access it remotely from anywhere in the world using your Windows PC. But wait—how do you even start? Don’t worry, friend. You’re about to learn everything you need to know about accessing Raspberry Pi VNC over the internet on Windows.
Accessing Raspberry Pi VNC over the internet might sound intimidating at first, but trust me, it’s simpler than you think. Whether you’re a tech enthusiast, a student, or just someone who loves tinkering with gadgets, this guide will walk you through every step. From setting up VNC to configuring your network, we’ve got you covered.
By the end of this article, you’ll not only understand how to remotely control your Raspberry Pi from your Windows PC but also gain confidence in troubleshooting common issues. So grab a cup of coffee, sit back, and let’s dive into the world of remote access.
Read also:Unveiling Jeffrey Brezovar The Man Whorsquos Taking The World By Storm
Why Access Raspberry Pi VNC Over the Internet?
First things first—why would you even want to access your Raspberry Pi remotely? Well, there are tons of reasons! Maybe you’ve set up a home server, a media center, or even a weather station using your Raspberry Pi. Accessing it over the internet allows you to monitor, manage, and interact with your device no matter where you are.
Plus, let’s be honest—having remote access is just plain cool. Imagine being able to check your home security camera feed or stream media files from your Raspberry Pi while you’re chilling at a café or on vacation. Sounds awesome, right?
Prerequisites for Setting Up Raspberry Pi VNC
Before we jump into the nitty-gritty, here’s what you’ll need to get started:
- A Raspberry Pi (any version will work).
- Raspberry Pi OS installed on your device.
- A Windows PC or laptop with internet access.
- A stable internet connection for both your Raspberry Pi and Windows PC.
- A VNC client installed on your Windows PC (we’ll cover this later).
- Basic knowledge of networking concepts (don’t panic—we’ll explain everything).
Got all that? Great! Let’s move on to the next step.
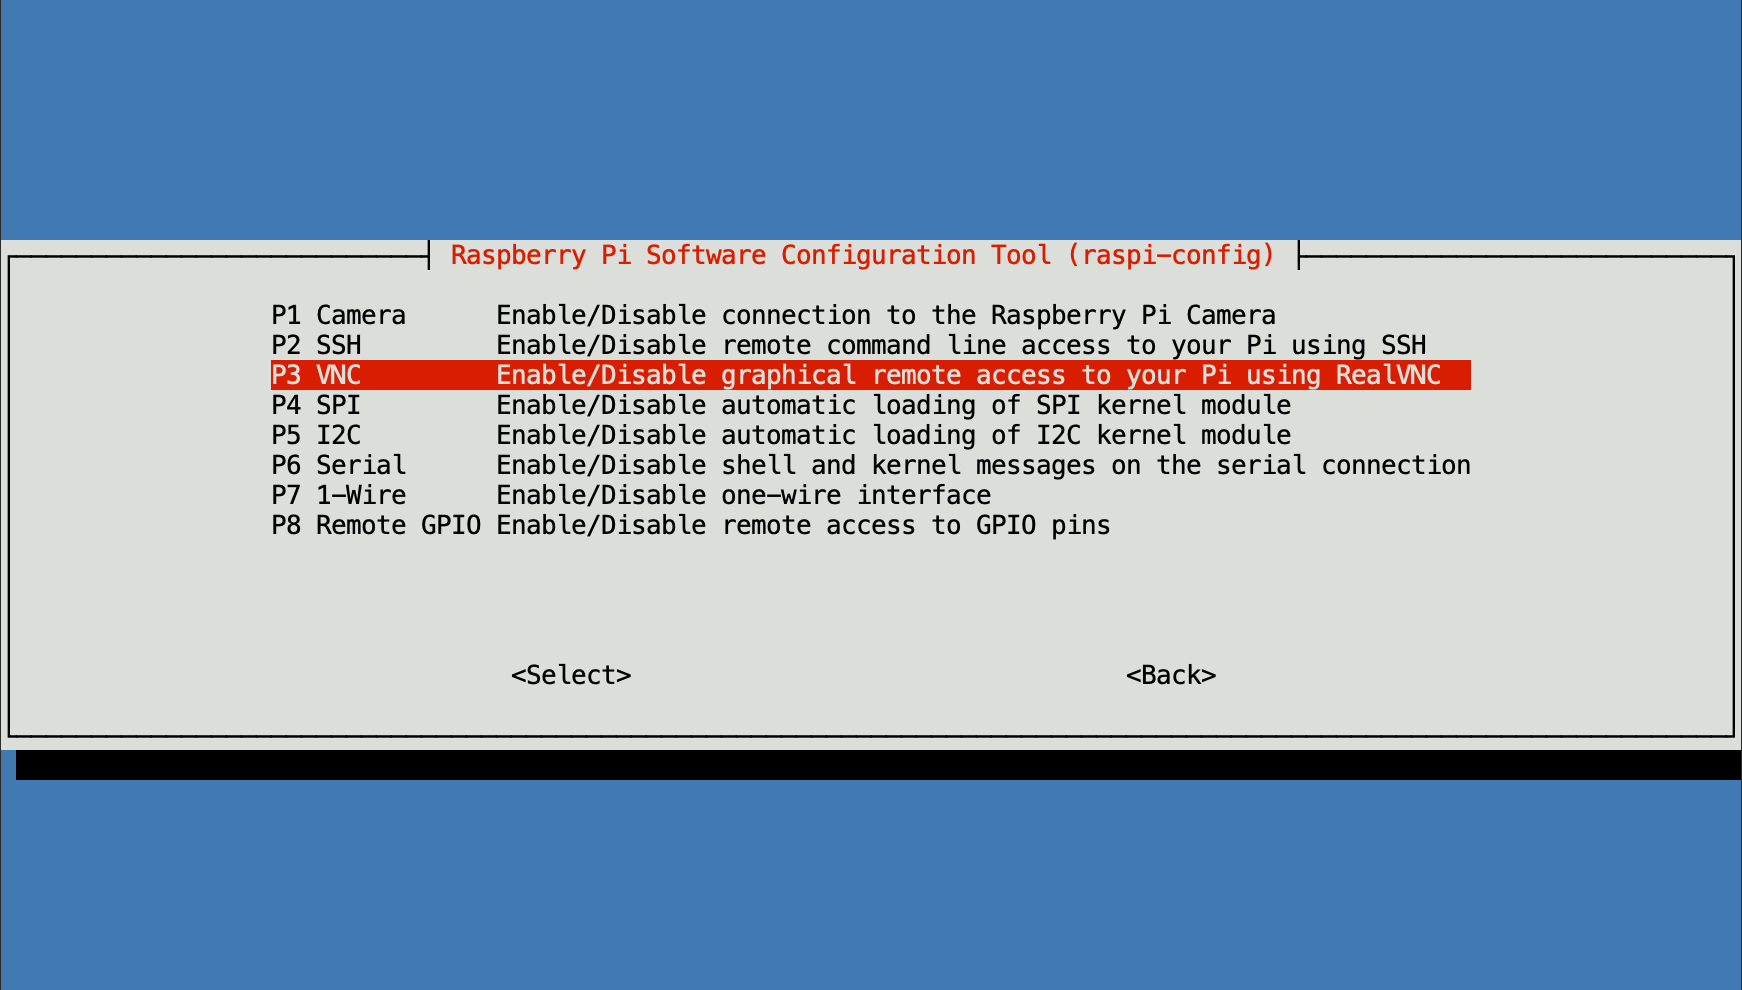
Step 1: Enable VNC on Your Raspberry Pi
The first thing you need to do is enable VNC on your Raspberry Pi. This is super easy, and here’s how you do it:
- Boot up your Raspberry Pi and log in to the desktop environment.
- Click on the Raspberry Pi icon in the top-left corner and navigate to Preferences > Raspberry Pi Configuration.
- Go to the Interfaces tab and enable VNC.
- Reboot your Raspberry Pi to apply the changes.
And just like that, VNC is ready to go on your Raspberry Pi. Easy peasy, right?
Read also:Ari Kytsya Rising Star In The Music Scene You Need To Know
Troubleshooting VNC on Raspberry Pi
Now, if you run into any issues enabling VNC, here are a few tips:
- Make sure your Raspberry Pi is connected to the internet.
- Check that you’ve enabled VNC in the correct tab (it’s under Interfaces).
- Restart your Raspberry Pi after making changes to ensure everything takes effect.
If you’re still stuck, don’t sweat it. We’ll tackle more troubleshooting later in the article.
Step 2: Install VNC Viewer on Your Windows PC
Now that VNC is enabled on your Raspberry Pi, it’s time to set up the client side on your Windows PC. Here’s how:
- Head over to the RealVNC website and download the VNC Viewer for Windows.
- Run the installer and follow the on-screen instructions to complete the installation.
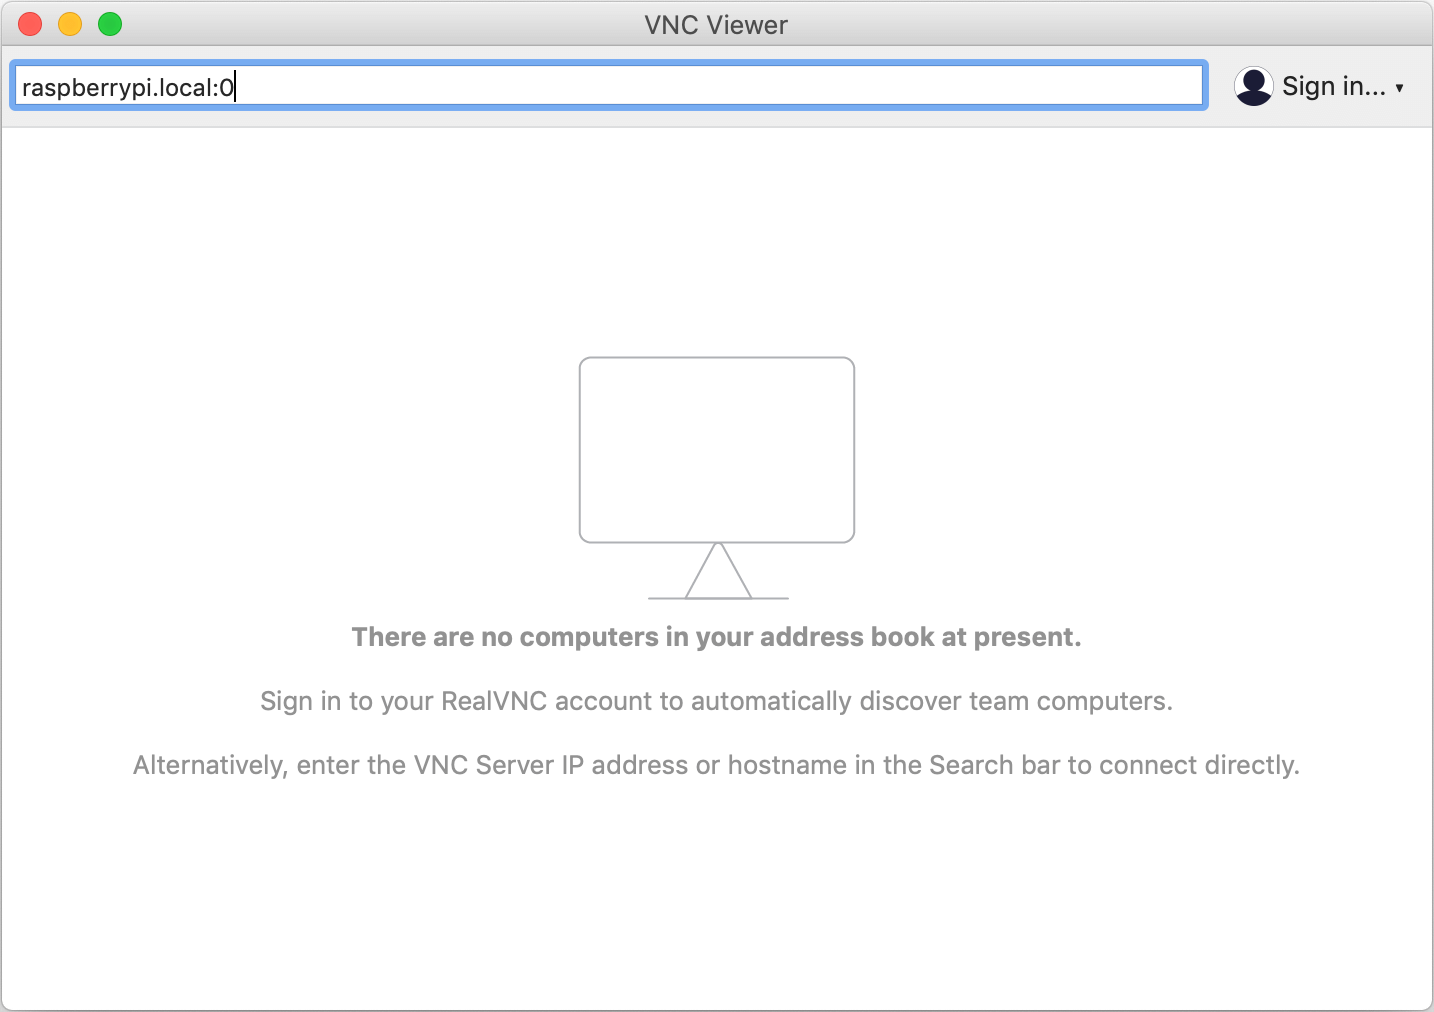
- Once installed, open VNC Viewer and you’ll see a clean interface ready for connections.
That’s it! You’ve now got VNC Viewer installed on your Windows PC. Next, we’ll connect the two devices.
Alternative VNC Clients
While RealVNC is one of the most popular options, there are other VNC clients you can try:
- TightVNC: A lightweight and open-source option.
- UltraVNC: Another great choice with additional features like file transfer.
- TigerVNC: Perfect for Linux users but also works well on Windows.
Feel free to experiment with these alternatives if you’re looking for more options.
Step 3: Configure Your Router for Port Forwarding
This is where things get a little technical—but don’t worry, I promise it’s manageable. To access your Raspberry Pi over the internet, you’ll need to configure port forwarding on your router. Here’s how:
- Log in to your router’s admin interface (usually by typing
192.168.0.1or192.168.1.1into your browser). - Find the Port Forwarding section (it might be under Advanced Settings or similar).
- Add a new rule with the following details:
- Service Name: Raspberry Pi VNC
- External Port: 5900
- Internal Port: 5900
- IP Address: Your Raspberry Pi’s local IP address (e.g., 192.168.1.100)
- Save the changes and reboot your router to apply the new settings.
And there you have it—your router is now configured to forward VNC traffic to your Raspberry Pi.
Why Is Port Forwarding Important?
Think of port forwarding like giving your Raspberry Pi a special mailbox where it can receive VNC requests from the internet. Without it, your router wouldn’t know which device to send the incoming traffic to. Makes sense, right?
Step 4: Find Your Raspberry Pi’s Public IP Address
Now that everything is set up on your local network, it’s time to find your Raspberry Pi’s public IP address. This is the address that devices on the internet use to connect to your home network.
Here’s how to find it:
- Go to a website like WhatIsMyIP.com or IPInfo.io.
- Your public IP address will be displayed prominently on the page.
- Write it down—you’ll need it for the next step.
Pro tip: If your ISP frequently changes your public IP address, consider setting up a dynamic DNS service. We’ll cover this later in the article.
Step 5: Connect to Your Raspberry Pi from Windows
Finally, the moment you’ve been waiting for—connecting to your Raspberry Pi from your Windows PC! Here’s how:
- Open VNC Viewer on your Windows PC.
- Enter your Raspberry Pi’s public IP address followed by
:5900(e.g.,123.456.789.012:5900). - Click Connect and enter your Raspberry Pi’s login credentials when prompted.
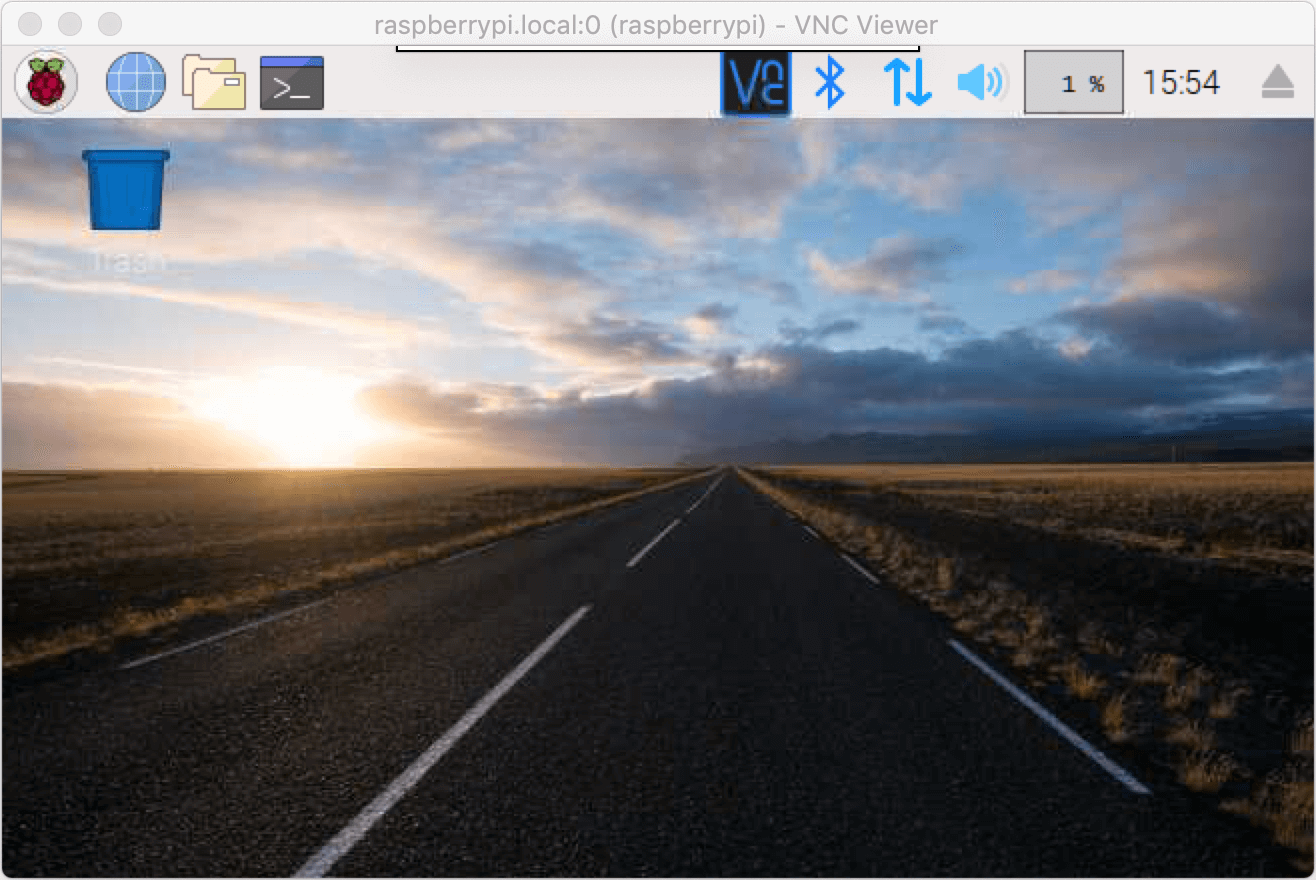
- Voilà! You should now see your Raspberry Pi’s desktop on your Windows PC.
Congratulations—you’ve successfully accessed your Raspberry Pi VNC over the internet using Windows!
Common Issues and Solutions
Here are a few common issues you might encounter and how to fix them:
- Connection Refused: Double-check your port forwarding settings and ensure VNC is enabled on your Raspberry Pi.
- Authentication Failed: Verify that you’re entering the correct username and password for your Raspberry Pi.
- Timeout Error: Make sure your public IP address is correct and that your router isn’t blocking the connection.
If you’re still having trouble, feel free to leave a comment below, and I’ll do my best to help you out.
Step 6: Set Up Dynamic DNS for Easy Access
As mentioned earlier, your public IP address might change from time to time. To avoid the hassle of updating it every time, consider setting up a dynamic DNS service. Here’s how:
- Sign up for a free dynamic DNS service like No-IP or DynDNS.
- Install the dynamic DNS client on your router or Raspberry Pi.
- Configure the client to update your domain name whenever your public IP address changes.
With dynamic DNS set up, you can connect to your Raspberry Pi using a domain name instead of an IP address. Much easier, right?
Benefits of Dynamic DNS
Dynamic DNS offers several advantages, including:
- Easier access via a domain name instead of an IP address.
- No need to worry about IP address changes.
- Increased convenience and reliability.
It’s definitely worth setting up if you plan to access your Raspberry Pi frequently.
Security Considerations for Remote Access
While accessing your Raspberry Pi over the internet is incredibly useful, it’s important to keep security in mind. Here are a few tips to stay safe:
- Use strong, unique passwords for your Raspberry Pi and router.
- Enable SSH and use a tool like PuTTY for secure connections.
- Consider setting up a firewall to block unauthorized access.
- Regularly update your Raspberry Pi and router firmware to patch vulnerabilities.
By following these best practices, you can enjoy the benefits of remote access without compromising your security.
Conclusion and Next Steps
There you have it—a comprehensive guide to accessing Raspberry Pi VNC over the internet using Windows. From enabling VNC on your Raspberry Pi to configuring port forwarding and dynamic DNS, we’ve covered everything you need to know.
Now that you’ve mastered remote access, why not take it a step further? Experiment with different VNC clients, explore advanced networking features, or even set up a web server on your Raspberry Pi. The possibilities are endless!
And remember, if you ever get stuck, don’t hesitate to reach out. Leave a comment below, share this article with your friends, or check out some of our other tutorials on Raspberry Pi and tech topics. Happy tinkering, and good luck on your tech journey!
Table of Contents
- Why Access Raspberry Pi VNC Over the Internet?
- Prerequisites for Setting Up Raspberry Pi VNC
- Step 1: Enable VNC on Your Raspberry Pi
- Step 2: Install VNC Viewer on Your Windows PC
- Step 3: Configure Your Router for Port Forwarding
- Step 4: Find Your Raspberry Pi’s Public IP Address
- Step 5: Connect to Your Raspberry Pi from Windows
- Step 6: Set Up Dynamic DNS for Easy Access
- Security Considerations for Remote Access
- Conclusion and Next Steps