Alright, listen up, folks! If you're into tech, gadgets, and all things DIY, you've probably heard about the Raspberry Pi. But here's the thing—what if I told you that this little device could be your secret weapon for creating secure connections through an SSH tunnel? Yup, you read that right. The Raspberry Pi SSH tunnel isn't just some fancy tech term; it's a game-changer for anyone looking to boost their cybersecurity game. So, buckle up because we're diving deep into this topic, and trust me, it's going to be a wild ride.
Now, before we get into the nitty-gritty, let's talk about why this matters. In today's digital world, where data breaches and cyber threats are as common as morning coffee, having a secure connection is non-negotiable. And that's where the Raspberry Pi SSH tunnel comes in. It's like putting a bulletproof vest on your internet activity. Whether you're a tech enthusiast, a remote worker, or just someone who values privacy, this little device can make all the difference.
So, here's the deal: by the end of this article, you'll not only understand what a Raspberry Pi SSH tunnel is but also how to set it up, why it's important, and how it can protect your data. We're talking about everything from the basics to advanced tips, so whether you're a beginner or a pro, there's something here for everyone. Ready to geek out? Let's go!
Read also:Undress App The Ultimate Guide To Privacy Features And Why Everyones Talking About It
Table of Contents
- What is an SSH Tunnel?
- Raspberry Pi: The Ultimate Gadget
- Why Use Raspberry Pi for SSH Tunneling?
- Setting Up Your Raspberry Pi
- Creating an SSH Tunnel
- Benefits of Using an SSH Tunnel
- Common Issues and Troubleshooting
- Security Best Practices
- Use Cases for Raspberry Pi SSH Tunnel
- Conclusion
What is an SSH Tunnel?
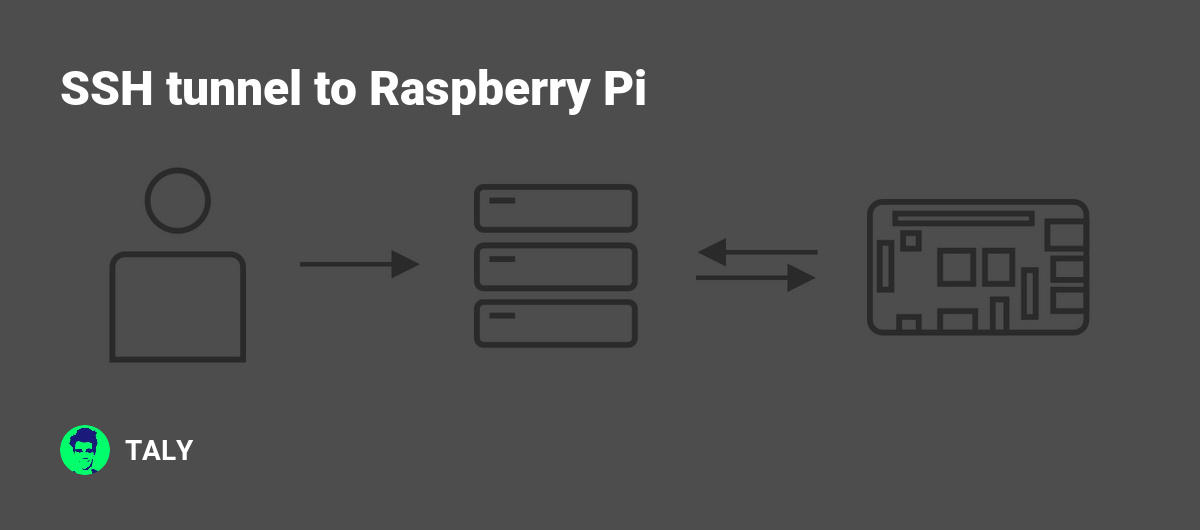
Okay, let's start with the basics. SSH, or Secure Shell, is like the superhero of secure communication. It's a protocol that lets you access remote computers securely over an unsecured network. But what about an SSH tunnel? Think of it as a secret passageway that encrypts your data as it travels from your device to another server. This means that even if someone tries to snoop on your activity, they won't be able to make sense of it.
Now, here's the kicker: an SSH tunnel isn't just for tech wizards. With the right tools—like the Raspberry Pi—you can set one up yourself. And guess what? It's not as complicated as it sounds. So, whether you're protecting sensitive information or just browsing the web, an SSH tunnel can give you that extra layer of security you need.
How Does an SSH Tunnel Work?
Here's the lowdown: when you create an SSH tunnel, you're essentially forwarding data through a secure connection. Let's say you're working remotely and need to access files on your office computer. Instead of sending that data over the open internet, where it could be intercepted, you use an SSH tunnel to send it through a secure, encrypted channel. Makes sense, right?
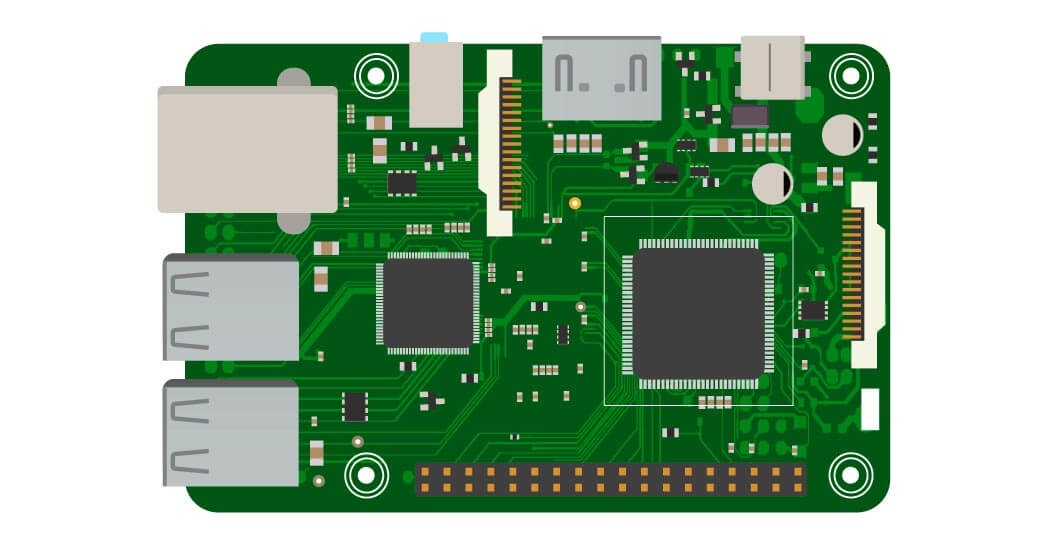
Raspberry Pi: The Ultimate Gadget
Alright, let's talk about the star of the show: the Raspberry Pi. This little device is more than just a toy for tech enthusiasts. It's a powerful tool that can be used for everything from home automation to, you guessed it, creating SSH tunnels. What makes the Raspberry Pi so special is its versatility and affordability. For less than the cost of a fancy coffee machine, you can get a device that packs a serious punch.
But here's the thing: the Raspberry Pi isn't just about hardware. It's also about community. There's a whole world of developers, hobbyists, and tinkerers out there who are constantly coming up with new and creative ways to use this device. So, whether you're looking to learn something new or just want to have some fun, the Raspberry Pi is a great place to start.
Key Features of the Raspberry Pi
- Compact and portable design
- Supports multiple operating systems
- Highly customizable
- Affordable price point
- Large and supportive community
Why Use Raspberry Pi for SSH Tunneling?
Now, you might be wondering: why use the Raspberry Pi for SSH tunneling when there are other options out there? Great question! The truth is, the Raspberry Pi offers a unique combination of power and simplicity that makes it perfect for this kind of task. Not only is it easy to set up, but it also has the processing power to handle complex tasks like encrypting data.
Read also:Kent Mccord The Iconic Force Behind The Badge
Plus, let's not forget about cost. Compared to other devices or services that offer similar functionality, the Raspberry Pi is a steal. And with its low power consumption, you can leave it running 24/7 without breaking the bank. So, whether you're a budget-conscious hobbyist or a tech-savvy professional, the Raspberry Pi is a great choice for SSH tunneling.
Setting Up Your Raspberry Pi
Alright, let's get down to business. Setting up your Raspberry Pi for SSH tunneling isn't as daunting as it might seem. Here's a step-by-step guide to get you started:
What You'll Need
- A Raspberry Pi (any model will do)
- A microSD card with Raspberry Pi OS installed
- A power supply
- An Ethernet cable or Wi-Fi connection
- A computer to connect to your Raspberry Pi
Step-by-Step Guide
- Install Raspberry Pi OS on your microSD card. You can download the latest version from the official Raspberry Pi website.
- Insert the microSD card into your Raspberry Pi and power it on.
- Connect to your Wi-Fi network or use an Ethernet cable for a wired connection.
- Open the terminal on your Raspberry Pi. You can do this by clicking on the terminal icon or using SSH from another computer.
- Update your Raspberry Pi by running the following commands:
sudo apt update
sudo apt upgrade
- Enable SSH by running:
sudo raspi-config
Then navigate to "Interfacing Options" and enable SSH.
Creating an SSH Tunnel
Now that your Raspberry Pi is set up, it's time to create your SSH tunnel. Here's how you can do it:
Basic SSH Tunnel Command
To create a basic SSH tunnel, you can use the following command:
ssh -L [local_port]:[destination_host]:[destination_port] [user]@[raspberry_pi_ip]
Let me break it down for you:
- [local_port]: The port on your local machine that you want to forward.
- [destination_host]: The server or device you want to connect to.
- [destination_port]: The port on the destination server.
- [user]: Your Raspberry Pi username.
- [raspberry_pi_ip]: The IP address of your Raspberry Pi.
Example
Let's say you want to access a web server running on your Raspberry Pi. You could use the following command:
ssh -L 8080:localhost:80 pi@[raspberry_pi_ip]
This command forwards port 80 on your Raspberry Pi to port 8080 on your local machine, allowing you to access the web server by navigating to http://localhost:8080 in your browser.
Benefits of Using an SSH Tunnel
So, why should you bother with an SSH tunnel? Here are just a few reasons:
- Enhanced security: Encrypt your data to protect it from prying eyes.
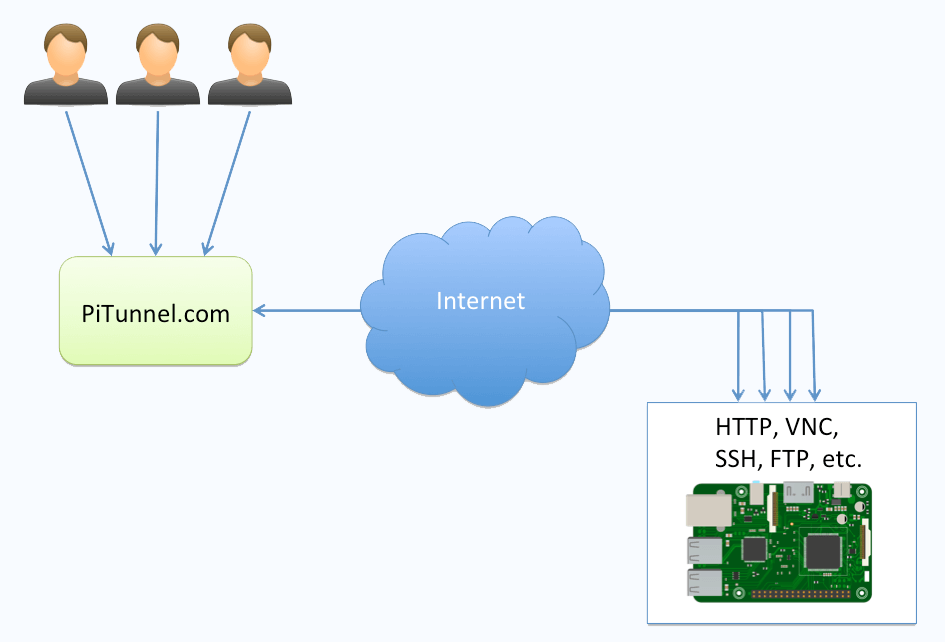
- Remote access: Access your devices and files from anywhere in the world.
- Privacy: Keep your online activity private and secure.
- Cost-effective: Set up your own secure connection without paying for expensive services.
Common Issues and Troubleshooting
Of course, no tech setup is without its hiccups. Here are some common issues you might encounter and how to fix them:
Connection Refused
If you're getting a "connection refused" error, make sure that:
- SSH is enabled on your Raspberry Pi.
- Your Raspberry Pi is connected to the internet.
- You're using the correct IP address and port numbers.
Permission Denied
If you're getting a "permission denied" error, check that:
- Your username and password are correct.
- You have the necessary permissions to access the destination server.
- SSH keys are properly configured if you're using them.
Security Best Practices
While SSH tunnels are secure by default, there are a few things you can do to make them even more secure:
- Use strong passwords and enable two-factor authentication.
- Disable password authentication and use SSH keys instead.
- Keep your Raspberry Pi and all software up to date.
- Limit access to only necessary users and devices.
Use Cases for Raspberry Pi SSH Tunnel
So, what can you actually do with a Raspberry Pi SSH tunnel? Here are just a few examples:
- Access remote servers securely.
- Bypass geo-restrictions and censorship.
- Create a personal VPN.
- Protect your online privacy.
Conclusion
Alright, that's a wrap, folks! By now, you should have a pretty good understanding of what a Raspberry Pi SSH tunnel is, why it's important, and how to set it up. Whether you're looking to protect your data, access remote files, or just geek out over cool tech projects, the Raspberry Pi SSH tunnel has got you covered.
So, what are you waiting for? Grab your Raspberry Pi, roll up your sleeves, and get started. And don't forget to share your experience with the community. Who knows? You might just inspire someone else to take the plunge into the world of tech. Until next time, stay safe and keep learning!