Are you looking to set up a secure VNC connection on your Raspberry Pi? Well, buckle up because we’re diving deep into the world of remote access and security. Whether you’re a tech enthusiast or just starting out with Raspberry Pi, securing your VNC setup is crucial. Let’s break it down step by step so you can protect your data like a pro.
Imagine this: you’ve just set up your Raspberry Pi and want to access it remotely from another device. Sounds convenient, right? But wait—how do you ensure that your connection is secure? That’s where VNC and the infamous "host.allow" file come into play. This guide will walk you through everything you need to know about securing your VNC setup on Raspberry Pi.
Now, I know what you’re thinking—“Isn’t this going to be super complicated?” Not at all! We’ll keep it simple, straightforward, and most importantly, secure. So grab your favorite beverage, and let’s get started on making your Raspberry Pi VNC setup as safe as Fort Knox.
Read also:Aagmaal Gives Revolutionizing Generosity And Community Impact
What is Raspberry Pi Secure VNC?
First things first, let’s talk about what VNC actually is. VNC stands for Virtual Network Computing, and it’s essentially a graphical desktop sharing system that allows you to remotely control another computer. In this case, we’re talking about using VNC to remotely access your Raspberry Pi.
When it comes to Raspberry Pi secure VNC, the goal is to ensure that your remote connection is not only functional but also secure from potential threats. This involves configuring your VNC server properly and using tools like the "host.allow" file to restrict access to trusted devices only.
Why Should You Care About VNC Security?
Here’s the deal: if your VNC setup isn’t secure, you’re basically leaving the door wide open for hackers to access your Raspberry Pi. This could lead to data breaches, unauthorized access, and other nasty stuff you definitely want to avoid.
By securing your VNC connection, you’re protecting your personal data, ensuring privacy, and preventing malicious actors from taking control of your device. Think of it as putting a lock on your front door—it’s a simple step that makes a huge difference in your overall security.
Understanding the Host.allow File
Now let’s dive into the "host.allow" file. This little guy is a key component in securing your VNC setup. Essentially, the "host.allow" file is used to specify which IP addresses or hosts are allowed to connect to your Raspberry Pi via VNC.
By editing the "host.allow" file, you can whitelist specific devices or IP addresses, ensuring that only trusted connections are granted access. This adds an extra layer of security to your VNC setup and helps prevent unauthorized access.
Read also:Whatrsquos Trending In 2024 A Deep Dive Into The Future
Steps to Secure Your Raspberry Pi VNC
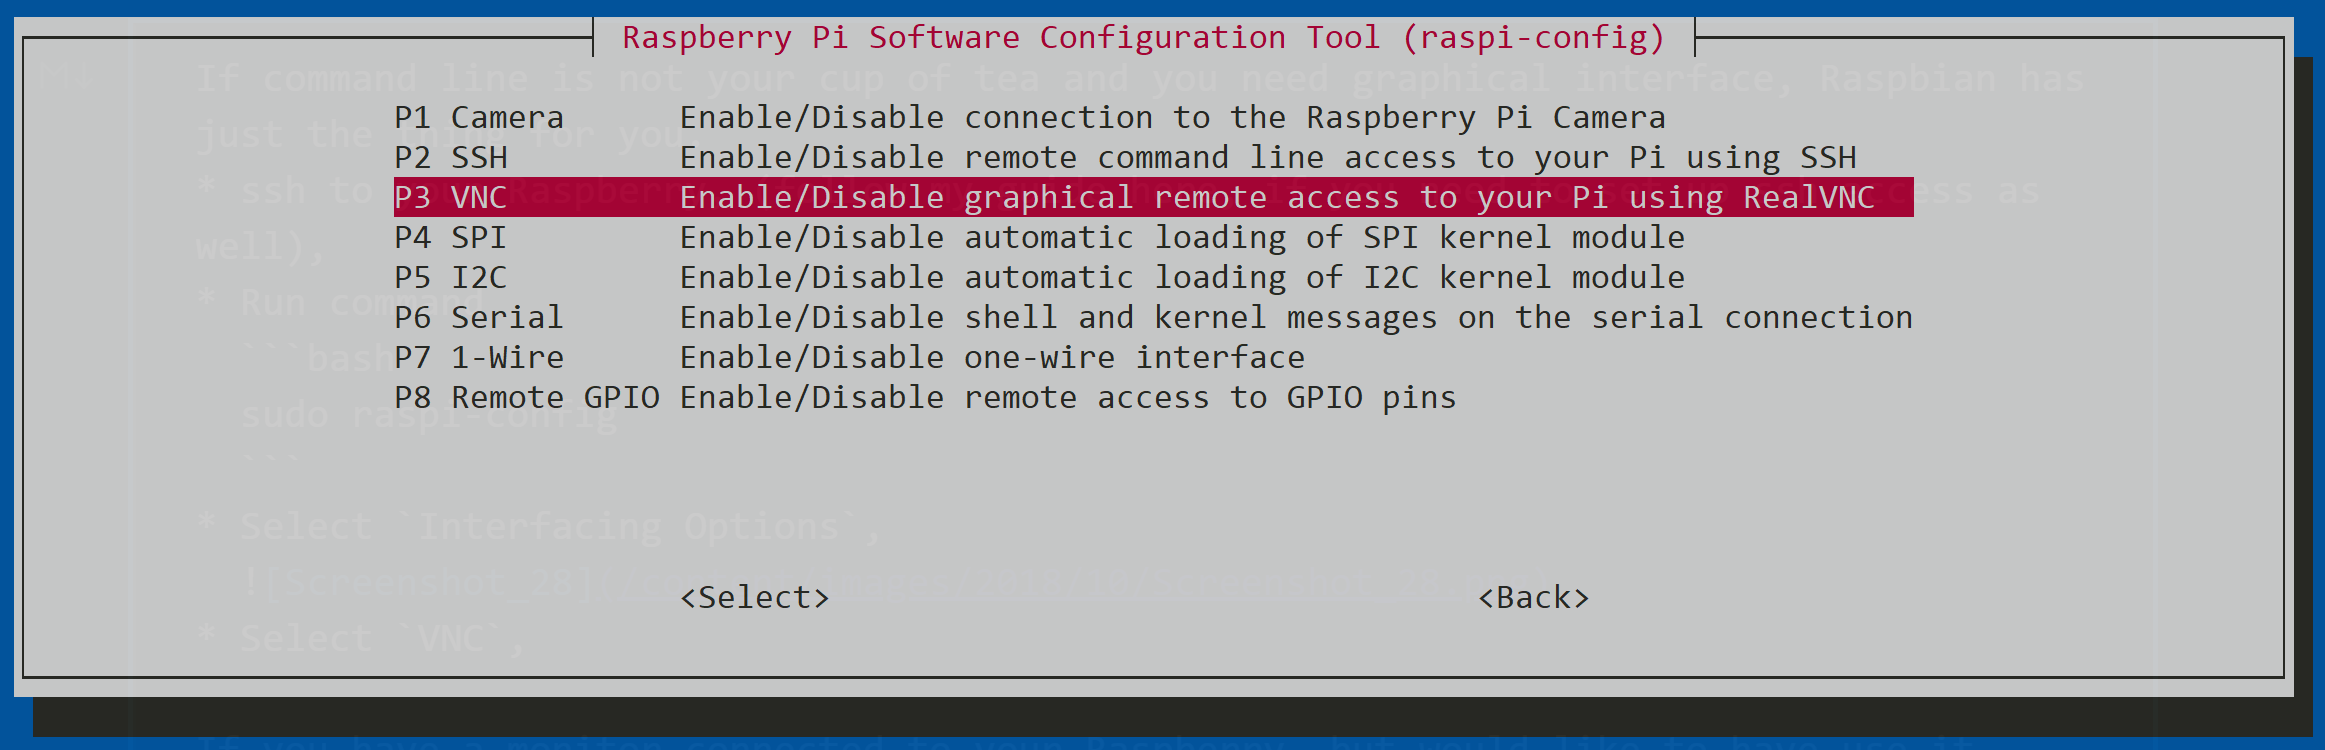
1. Install VNC Server
The first step in setting up a secure VNC connection is installing the VNC server on your Raspberry Pi. You can do this by running the following command in the terminal:
sudo apt-get install realvnc-vnc-server realvnc-vnc-viewer
This will install the VNC server and viewer on your Raspberry Pi, allowing you to connect remotely.
2. Configure the VNC Server
Once the VNC server is installed, you’ll need to configure it to ensure it’s secure. Start by setting a strong password for your VNC connection. This should be a combination of letters, numbers, and special characters to make it harder for hackers to guess.
Additionally, consider enabling encryption to protect your data during transmission. This can be done by configuring the VNC server to use SSL/TLS encryption.
3. Edit the Host.allow File
Now it’s time to edit the "host.allow" file to restrict access to trusted devices. To do this, open the file in a text editor using the following command:
sudo nano /etc/hosts.allow
Add the IP addresses or hostnames of the devices you want to allow access to. For example:
vncserver: 192.168.1.100
This will allow only the device with the IP address 192.168.1.100 to connect to your VNC server.
4. Use Firewall Rules
Another important step in securing your VNC setup is using firewall rules to restrict access to your Raspberry Pi. You can do this by installing and configuring the UFW firewall using the following commands:
sudo apt-get install ufw
sudo ufw allow 5900
This will allow incoming connections on port 5900, which is the default port used by VNC. You can then enable the firewall with the command:
sudo ufw enable
5. Regularly Update Your System
One of the easiest ways to ensure your VNC setup remains secure is by keeping your Raspberry Pi system up to date. Regularly updating your software and firmware helps patch any security vulnerabilities that may exist.
To update your system, run the following commands:
sudo apt-get update
sudo apt-get upgrade
Common Security Mistakes to Avoid
While setting up a secure VNC connection may seem straightforward, there are a few common mistakes that people often make. Here are some things to watch out for:
- Using Weak Passwords: Always use strong, complex passwords to protect your VNC connection.
- Not Enabling Encryption: Encryption is crucial for protecting your data during transmission. Make sure it’s enabled in your VNC server settings.
- Ignoring Firewall Rules: Firewalls are an essential part of securing your Raspberry Pi. Don’t skip this step!
- Forgetting to Update: Keeping your system updated is vital for addressing any security vulnerabilities that may arise.
Advanced Security Tips
For those who want to take their Raspberry Pi VNC security to the next level, here are some advanced tips:
1. Use SSH Tunneling
SSH tunneling is a great way to add an extra layer of security to your VNC connection. By tunneling your VNC traffic through an SSH connection, you can encrypt the data and ensure that it’s transmitted securely.
To set up SSH tunneling, use the following command:
ssh -L 5900:localhost:5900 user@raspberrypi
2. Implement Two-Factor Authentication
Two-factor authentication (2FA) is another excellent way to enhance the security of your VNC setup. By requiring a second form of authentication, such as a one-time code sent to your phone, you can significantly reduce the risk of unauthorized access.
3. Monitor Your Logs
Regularly monitoring your system logs can help you detect any suspicious activity and take action before it becomes a problem. Use tools like log2ram or logwatch to keep an eye on your logs and stay informed about any potential threats.
Resources and References
Here are some additional resources to help you secure your Raspberry Pi VNC setup:
Conclusion
Securing your Raspberry Pi VNC setup doesn’t have to be a daunting task. By following the steps outlined in this guide, you can ensure that your remote connection is both functional and secure. Remember to use strong passwords, enable encryption, and configure your firewall rules properly.
So what are you waiting for? Get out there and secure your VNC setup today! And don’t forget to share this article with your friends and fellow Raspberry Pi enthusiasts. Together, we can all stay safe and secure in the world of remote access.
Table of Contents
- What is Raspberry Pi Secure VNC?
- Why Should You Care About VNC Security?
- Understanding the Host.allow File
- Steps to Secure Your Raspberry Pi VNC
- Common Security Mistakes to Avoid
- Advanced Security Tips
- Resources and References
- Conclusion