Hey there, tech-savvy friend! If you're reading this, chances are you've dabbled in the world of Raspberry Pi or are just starting out on your journey. Let's dive right in because today we're talking about something super powerful: SSH to Raspberry Pi remotely. Yeah, you heard me right! Imagine being able to control your Pi from anywhere in the world. Sounds cool, right? Well, it's not just cool—it's essential if you're into home automation, IoT projects, or just want to flex your tech skills.
SSH, or Secure Shell, is like a secret handshake that lets you access your Raspberry Pi from another computer over the internet. It's secure, efficient, and once you get the hang of it, it'll feel like second nature. But hold up—there's more to it than just typing a few commands. You need to set things up properly to make sure everything runs smoothly. Don't worry, though; I've got you covered with all the details you need.
Before we jump into the nitty-gritty, let me throw out a quick disclaimer: SSH to Raspberry Pi remotely can be a bit tricky if you're new to networking. But don't let that scare you off. By the end of this guide, you'll be a pro at setting up remote access and troubleshooting any issues that pop up. So grab a cup of coffee, sit back, and let's get started!
Read also:Coco Ho Husband The Untold Story Of Love Surfing And Life In The Waves
Here's a quick roadmap of what we'll cover:
- Introduction to SSH and Why It's Important
- Raspberry Pi Setup for Remote Access
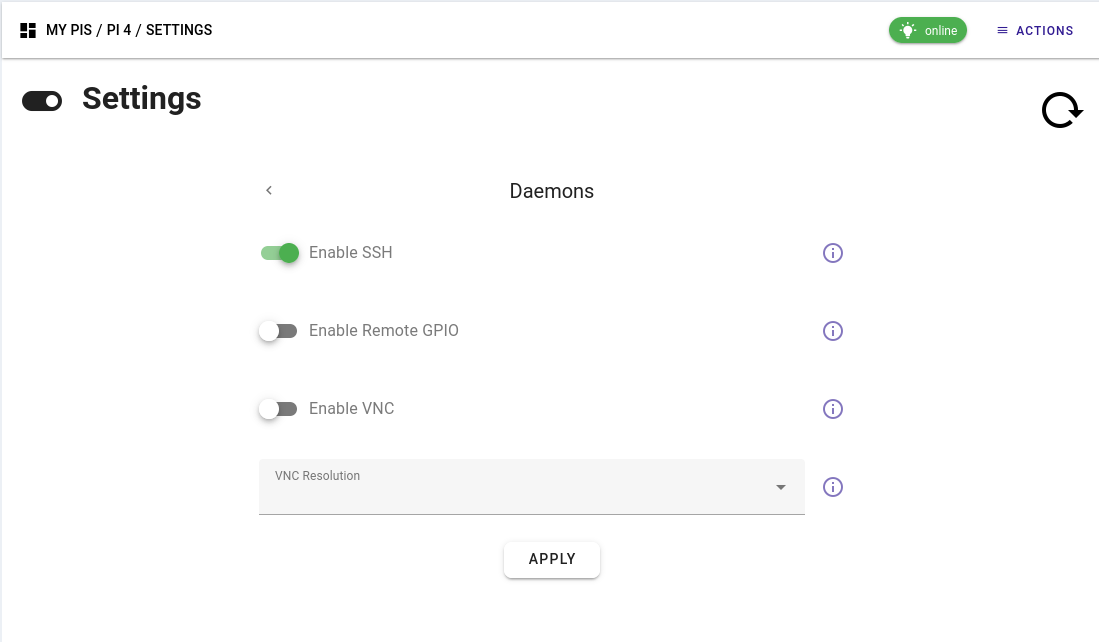
- Enabling SSH on Your Raspberry Pi
- Finding Your Raspberry Pi's IP Address
- Using an SSH Client to Connect
- Setting Up Port Forwarding
- Dynamic DNS for Easier Access
- SSH Tunneling for Extra Security
- Common Issues and How to Fix Them
- Wrapping It All Up
Introduction to SSH and Why It's Important
Let's break it down, shall we? SSH stands for Secure Shell, and it's basically a communication protocol that lets you control one computer from another over a network. Think of it like a virtual bridge that connects your local machine to your Raspberry Pi, allowing you to send commands, transfer files, and even manage applications—all from the comfort of your couch.
Why is SSH so important when it comes to Raspberry Pi? Well, for starters, it gives you the freedom to access your Pi remotely without needing a monitor, keyboard, or mouse. This is especially handy if your Pi is tucked away in a corner of your house or even located in another country. Plus, SSH is encrypted, meaning your data stays safe from prying eyes. Security first, my friend!
Here are some quick benefits of using SSH:
- Remote control of your Raspberry Pi
- File transfers between devices
- Secure and encrypted communication
- No need for additional hardware
Raspberry Pi Setup for Remote Access
Alright, let's get our hands dirty. Before you can start SSH'ing your way into your Raspberry Pi, you need to make sure everything is set up correctly. Here's a step-by-step guide to get you started:
Step 1: Install the Latest Raspberry Pi OS
First things first, make sure your Raspberry Pi is running the latest version of Raspberry Pi OS. You can download it from the official website and flash it onto your SD card using a tool like BalenaEtcher. Trust me, starting with a fresh image will save you a ton of headaches down the line.
Read also:John Phillips The Legendary Musician Who Shaped An Era
Step 2: Connect to Wi-Fi
If you're planning to access your Pi over the internet, you'll need to connect it to your Wi-Fi network. You can do this by going to the Raspberry Pi Configuration tool or editing the wpa_supplicant.conf file directly. Easy peasy!
Enabling SSH on Your Raspberry Pi
Now that your Pi is all set up, it's time to enable SSH. Here's how you do it:
- Boot up your Raspberry Pi and log in.
- Open the terminal and type
sudo raspi-config. - Use the arrow keys to navigate to
Interfacing Optionsand hit Enter. - Select
SSHand enable it. - That's it! SSH is now active on your Pi.
Pro tip: If you're setting up SSH without a screen, you can enable it by placing an empty file named "ssh" on the boot partition of your SD card. Simple, right?
Finding Your Raspberry Pi's IP Address
To connect to your Pi via SSH, you'll need its IP address. Here's how you find it:
From the terminal, type hostname -I. This will display the IP address of your Pi. If you're using a wired connection, it'll usually start with 192.168.x.x. For Wi-Fi, it might be something like 10.0.x.x. Keep this handy because you'll need it for the next steps.
Using an SSH Client to Connect
Now that SSH is enabled and you know your Pi's IP address, it's time to connect. Here's what you need to do:
For macOS and Linux Users
Open the terminal and type:
ssh pi@YOUR_PI_IP_ADDRESS
Hit Enter, and you'll be prompted to enter the password. By default, the password for the "pi" user is "raspberry". Once you're in, you'll have full control over your Pi.
For Windows Users
Windows doesn't have a built-in SSH client, so you'll need to download one. PuTTY is a popular choice, but you can also use the Windows Subsystem for Linux (WSL) if you prefer a more Linux-like experience. Just follow the same steps as above, and you're good to go.
Setting Up Port Forwarding
Here's where things get a little tricky. To access your Pi from outside your local network, you'll need to set up port forwarding on your router. Here's how:
- Log in to your router's admin interface. You'll usually find this at 192.168.0.1 or 192.168.1.1.
- Look for the "Port Forwarding" or "Virtual Servers" section.
- Add a new rule and set the external port to 22 (the default SSH port).
- Set the internal IP address to your Raspberry Pi's IP.
- Save the settings and you're done!
Remember, every router is different, so refer to your router's manual if you're stuck.
Dynamic DNS for Easier Access
IP addresses can change, especially if you're using DHCP. To avoid this headache, consider setting up a Dynamic DNS (DDNS) service. This gives your Pi a static domain name that updates automatically when your IP changes. Services like No-IP or DuckDNS are great options and easy to set up.
SSH Tunneling for Extra Security
If security is a top priority, consider using SSH tunneling. This creates an encrypted connection between your local machine and your Pi, making it even harder for hackers to intercept your data. To set it up, use the following command:
ssh -L LOCAL_PORT:localhost:REMOTE_PORT pi@YOUR_PI_IP_ADDRESS
This will forward traffic from your local machine to your Pi through the SSH connection. Pretty neat, huh?
Common Issues and How to Fix Them
Even the best-laid plans can go awry. Here are some common issues you might encounter and how to fix them:
- Can't connect to SSH: Double-check your IP address and make sure SSH is enabled. Also, verify that your firewall isn't blocking port 22.
- Incorrect password: Make sure you're using the correct username and password. If you've changed the default password, don't forget to update it.
- Port forwarding not working: Ensure that your router's settings are correct and that no other device is using the same port.
Wrapping It All Up
And there you have it, folks! SSH to Raspberry Pi remotely isn't as scary as it seems. With a little bit of setup and some troubleshooting skills, you'll be controlling your Pi from anywhere in no time. Remember, security is key, so always use strong passwords and consider additional measures like SSH tunneling if you're dealing with sensitive data.
Now, here's your call to action: leave a comment below and let me know how your SSH adventure went. Did you run into any issues? Did you find a cool new way to use SSH? Share your experiences and help out fellow Pi enthusiasts. And don't forget to check out our other guides for more Raspberry Pi goodness. Happy hacking, and stay techy!