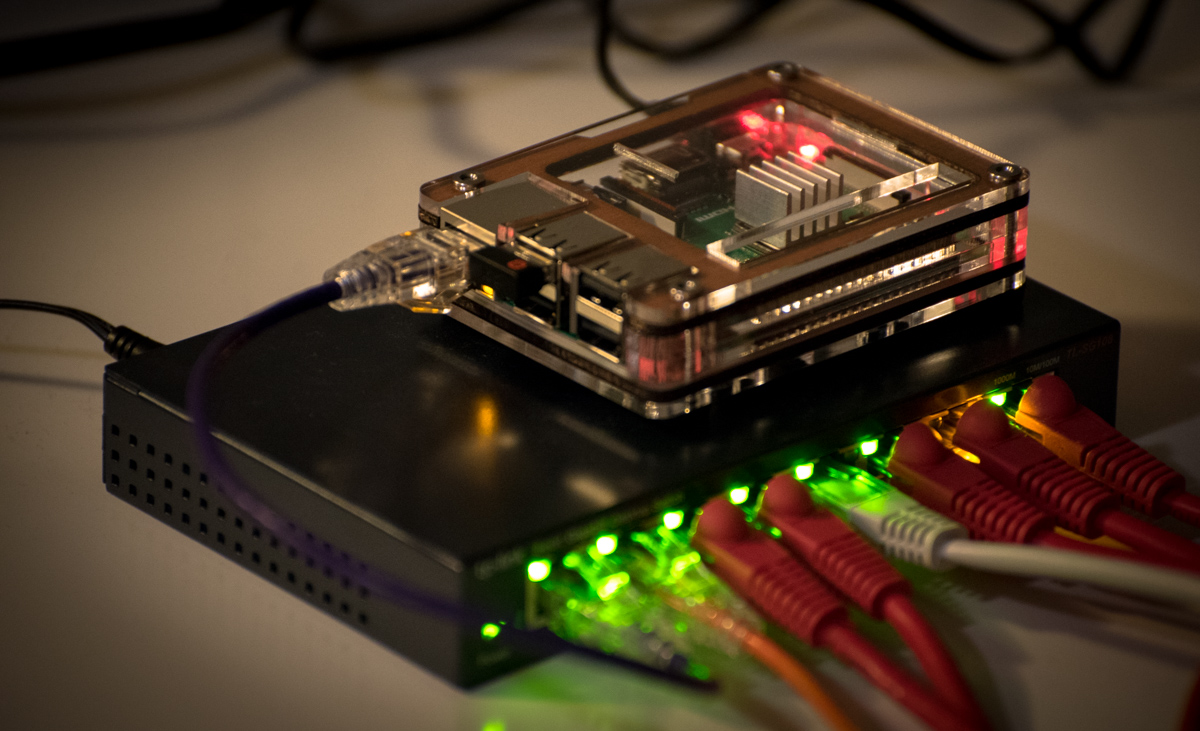
Ever wondered how you can control your Raspberry Pi even when it's hidden behind a router? Well, you're not alone. Many tech enthusiasts face this challenge, but don't worry – it's easier than you think! Whether you're setting up a home automation system or running a remote server, controlling your Raspberry Pi from anywhere is a game-changer. Let's dive into the world of remote access and unlock its full potential!
Imagine this: you're chilling on your couch, sipping your coffee, and suddenly you need to check something on your Raspberry Pi. But here's the catch – it's tucked away in some corner behind a router. Sounds frustrating, right? Not anymore! In this guide, we'll walk you through step-by-step on how to control Raspberry Pi behind router without breaking a sweat.
We get it – tech terms can sometimes feel overwhelming. But hey, that's why we're here! This guide is designed to be as simple and straightforward as possible. By the end of it, you'll have all the tools and knowledge you need to take control of your Raspberry Pi like a pro. Let's get started!
Read also:Kaitlin Olson Siblings The Untold Story Youve Been Waiting For
Why Control Raspberry Pi Behind Router?
Before we jump into the nitty-gritty, let's talk about why controlling your Raspberry Pi behind a router is such a big deal. In today's connected world, remote access is more important than ever. Whether you're running a media server, a weather station, or just tinkering with some cool projects, having the ability to access your Raspberry Pi remotely opens up a world of possibilities.
Think about it – no more running back and forth to physically access your device. You can monitor, update, and manage your Raspberry Pi from the comfort of your own home or even when you're miles away. It's like giving your Raspberry Pi superpowers!
Understanding the Basics
Now, let's break it down. When we talk about controlling Raspberry Pi behind router, we're essentially talking about remote access. This means you can interact with your Raspberry Pi as if you're sitting right in front of it, even when it's connected to a local network behind a router.
- It allows you to manage files and settings remotely.
- You can run scripts and programs without being physically present.
- It's perfect for setting up headless systems (no monitor or keyboard required).
Setting Up Your Raspberry Pi for Remote Access
Alright, let's get our hands dirty! The first step in controlling Raspberry Pi behind router is setting it up for remote access. This involves a few key steps, and we'll walk you through each one.
1. Enable SSH on Your Raspberry Pi
SSH (Secure Shell) is your best friend when it comes to remote access. It allows you to connect to your Raspberry Pi securely over the network.
Steps to Enable SSH:
Read also:Undress App The Ultimate Guide To Privacy Features And Why Everyones Talking About It
- Boot up your Raspberry Pi and log in.
- Open the terminal and type
sudo raspi-config. - Navigate to "Interfacing Options" and select "SSH".
- Choose "Yes" to enable SSH and hit "OK".
- Reboot your Raspberry Pi with
sudo reboot.
2. Find Your Raspberry Pi's IP Address
Knowing your Raspberry Pi's IP address is crucial for remote access. Here's how you can find it:
Method 1: Using the Terminal
- Open the terminal on your Raspberry Pi.
- Type
hostname -Iand hit Enter. - This will display your local IP address (something like 192.168.1.10).
Method 2: Using Your Router
- Log in to your router's admin panel.
- Look for a list of connected devices.
- Find your Raspberry Pi in the list and note its IP address.
Port Forwarding: The Key to Accessing Raspberry Pi Behind Router
Now that your Raspberry Pi is set up for remote access, it's time to tackle the router. Port forwarding is the process of directing incoming traffic from the internet to a specific device on your local network – in this case, your Raspberry Pi.
Steps to Set Up Port Forwarding
Step 1: Access Your Router's Admin Panel
- Open a web browser and enter your router's IP address (usually something like 192.168.1.1).
- Log in using your router's admin credentials.
Step 2: Locate the Port Forwarding Section
- Every router is different, but look for sections like "Port Forwarding", "Virtual Servers", or "NAT Settings".
Step 3: Add a New Rule
- Create a new rule and set the external port to 22 (the default SSH port).
- Set the internal IP address to your Raspberry Pi's local IP address.
- Save the changes and restart your router if necessary.
Using Dynamic DNS for Easier Access
IP addresses can sometimes change, which can make remote access tricky. That's where Dynamic DNS (DDNS) comes in. DDNS allows you to assign a hostname to your Raspberry Pi's IP address, making it easier to access.
How to Set Up DDNS
Step 1: Choose a DDNS Provider
- There are many DDNS providers out there, such as No-IP or DuckDNS. Choose one that suits your needs.
Step 2: Create an Account and Hostname
- Sign up for an account and create a hostname (e.g., myraspberrypi.ddns.net).
Step 3: Configure Your Router
- Log in to your router's admin panel.
- Find the DDNS settings and enter your provider's details and hostname.
- Save the changes and test the connection.
Securing Your Raspberry Pi for Remote Access
Security is paramount when it comes to remote access. You don't want unauthorized users gaining access to your Raspberry Pi. Here are some tips to keep your device safe:
1. Change the Default SSH Port
Changing the default SSH port from 22 to something less obvious can deter hackers.
Steps:
- Edit the SSH configuration file with
sudo nano /etc/ssh/sshd_config. - Change the "Port" line to a new number (e.g., 2222).
- Restart the SSH service with
sudo systemctl restart ssh.
2. Use Strong Passwords
Make sure your Raspberry Pi's password is strong and unique. Avoid using common passwords like "password" or "123456".
3. Enable Two-Factor Authentication
Two-factor authentication adds an extra layer of security to your SSH connection. Tools like Google Authenticator can help you set this up.
Alternative Methods to Control Raspberry Pi Behind Router
While SSH is the most common method for remote access, there are other ways to control your Raspberry Pi behind router. Let's explore some alternatives:
1. VNC (Virtual Network Computing)
VNC allows you to remotely control your Raspberry Pi's graphical interface. It's perfect if you need to interact with the desktop environment.
2. Web-Based Interfaces
Some applications, like Pi-hole or Home Assistant, offer web-based interfaces that you can access from any browser. This eliminates the need for SSH or VNC altogether.
3. Remote Desktop Protocol (RDP)
RDP is another option for remote access, especially if you're using a Windows machine. It provides a seamless experience similar to VNC.
Troubleshooting Common Issues
Even with the best setup, things can sometimes go wrong. Here are some common issues and how to fix them:
1. Can't Connect to Raspberry Pi
Possible Causes:
- Incorrect IP address or port number.
- Firewall or router settings blocking the connection.
Solutions:
- Double-check your IP address and port settings.
- Ensure port forwarding is correctly configured on your router.
2. Slow Connection
Possible Causes:
- Poor internet connection.
- High network traffic.
Solutions:
- Upgrade your internet plan if necessary.
- Limit bandwidth usage on other devices.
Conclusion
Controlling Raspberry Pi behind router doesn't have to be a daunting task. With the right setup and a bit of knowledge, you can access your Raspberry Pi from anywhere in the world. Whether you're using SSH, VNC, or web-based interfaces, the possibilities are endless.
Remember to prioritize security and keep your Raspberry Pi safe from unauthorized access. And don't forget to experiment with different methods to find what works best for you.
So, what are you waiting for? Grab your Raspberry Pi, follow this guide, and take control of your device like a pro. Don't forget to share your experiences in the comments below or check out our other articles for more tech tips!
Table of Contents
- Why Control Raspberry Pi Behind Router?
- Understanding the Basics
- Setting Up Your Raspberry Pi for Remote Access
- Port Forwarding: The Key to Accessing Raspberry Pi Behind Router
- Using Dynamic DNS for Easier Access
- Securing Your Raspberry Pi for Remote Access
- Alternative Methods to Control Raspberry Pi Behind Router
- Troubleshooting Common Issues
- Conclusion