So, you’ve got this tiny but mighty Raspberry Pi sitting on your desk, and you’re wondering how to connect it behind your router like a pro. Let’s be honest—connecting a Raspberry Pi behind a router can seem intimidating at first, but trust me, it’s not as complicated as it sounds. In this guide, we’ll break it down step by step so you can get your Pi up and running in no time.
Now, before we dive into the nitty-gritty details, let’s address the elephant in the room. Connecting a Raspberry Pi behind a router is something that every tech enthusiast should know. Whether you’re setting up a home server, running a media center, or building your own IoT devices, understanding how your Pi interacts with your network is crucial. This guide will walk you through everything you need to know, from the basics to some advanced tricks.
And hey, don’t worry if you’re new to this. We’ve all been there. I remember my first Raspberry Pi setup—it was a bit of a struggle, but once I figured it out, it opened up a whole new world of possibilities. So grab a coffee, sit back, and let’s get started on this tech adventure together!
Read also:Aagmaalgive Revolutionizing The Way We Give Back
Why Connect Raspberry Pi Behind Router?
Alright, let’s talk about the big question: Why would you even want to connect your Raspberry Pi behind a router? Well, here’s the deal—connecting your Pi behind a router gives you a secure and stable network connection. It’s like giving your Pi its own little corner in your home network where it can do its thing without interfering with other devices.
Plus, it opens up a ton of possibilities. You can set up a local server, run headless operations, or even create a private cloud. And the best part? It’s all done securely behind your router’s firewall. Let’s look at some of the benefits:
- Enhanced security by isolating your Pi from external threats
- Stable and reliable network connection
- Flexibility to configure your Pi for various projects
- Easy management of your Pi remotely
Now that we’ve covered the why, let’s move on to the how.
What You’ll Need to Connect Raspberry Pi Behind Router
Before we start tinkering, let’s make sure you’ve got everything you need. Here’s a quick checklist:
- Raspberry Pi (any model will work)
- Power supply for your Raspberry Pi
- Ethernet cable or Wi-Fi dongle (depending on your setup)
- Router with available ports
- SD card with Raspberry Pi OS installed
- Computer or laptop for initial setup
Got all that? Great! Now let’s move on to the next step.
Step-by-Step Guide to Connect Raspberry Pi Behind Router
1. Setting Up Your Raspberry Pi
The first step is to set up your Raspberry Pi. If you haven’t done this yet, don’t panic. It’s super easy. Just follow these steps:
Read also:Dianne Wiest Husband A Journey Through Love Career And Family
- Insert the SD card with Raspberry Pi OS into your Pi
- Connect the power supply
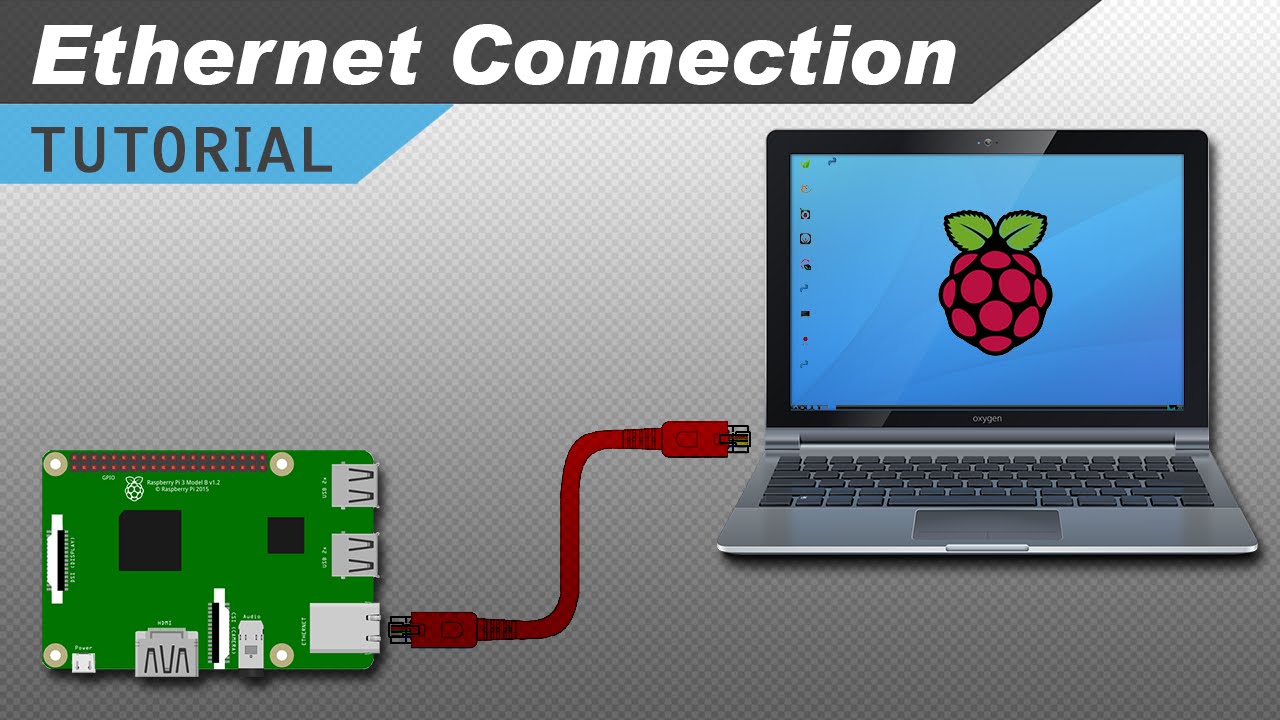
- Plug in the Ethernet cable or Wi-Fi dongle
- Boot up your Pi and log in using the default credentials
Once your Pi is up and running, you’re ready to move on to the next step.
2. Configuring Your Router
Next, you’ll need to configure your router to allow your Pi to connect. This involves setting up port forwarding and assigning a static IP address. Here’s how:
- Log in to your router’s admin panel
- Find the DHCP settings and assign a static IP to your Pi
- Set up port forwarding for any ports your Pi will use
Don’t worry if this sounds confusing—we’ll cover it in more detail later.
Understanding Network Configurations
Now, let’s talk about network configurations. Understanding how your network works is key to successfully connecting your Pi behind a router. Here’s a quick breakdown:
- IP Address: Every device on your network has a unique IP address. Think of it like a street address for your Pi.
- Subnet Mask: This determines which part of the IP address is the network ID and which part is the host ID.
- Gateway: This is the router’s IP address, which acts as the gateway to the internet.
By understanding these basics, you’ll be able to configure your Pi and router more effectively.
Troubleshooting Common Issues
Even the best-laid plans can go awry. If you’re having trouble connecting your Pi behind a router, here are some common issues and how to fix them:
- No Internet Connection: Check your Ethernet cable or Wi-Fi settings.
- Unable to Access Pi: Make sure port forwarding is set up correctly.
- Static IP Not Working: Double-check your router’s DHCP settings.
If none of these solutions work, feel free to reach out to the Raspberry Pi community for help.
Advanced Tips for Power Users
For those of you who want to take things to the next level, here are some advanced tips:
- Set up a VLAN to isolate your Pi from other devices
- Use SSH to manage your Pi remotely
- Install a firewall for added security
These tips will help you get the most out of your Raspberry Pi setup.
Data and Statistics: Why Raspberry Pi Is a Game-Changer
Did you know that over 40 million Raspberry Pi units have been sold worldwide? That’s a lot of tiny computers! And with good reason—Raspberry Pi is revolutionizing the tech industry, making it easier than ever for people to experiment with coding, hardware, and networking.
According to recent studies, Raspberry Pi is one of the most popular platforms for IoT projects, with over 70% of hobbyists using it for their projects. This popularity is driven by its affordability, versatility, and ease of use.
Conclusion: Your Next Steps
Connecting your Raspberry Pi behind a router doesn’t have to be a headache. By following the steps in this guide, you’ll be able to set up your Pi securely and efficiently. Remember, the key is to take it one step at a time and don’t be afraid to experiment.
So, what’s next? Here’s what I want you to do:
- Try connecting your Raspberry Pi behind your router using the steps we’ve discussed
- Share your experience in the comments below
- Check out our other articles for more Raspberry Pi tips and tricks
And hey, if you found this guide helpful, don’t forget to hit that share button. Let’s spread the tech love! Until next time, keep tinkering and stay curious.
Table of Contents
- Why Connect Raspberry Pi Behind Router?
- What You’ll Need to Connect Raspberry Pi Behind Router
- Step-by-Step Guide to Connect Raspberry Pi Behind Router
- Understanding Network Configurations
- Troubleshooting Common Issues
- Advanced Tips for Power Users
- Data and Statistics: Why Raspberry Pi Is a Game-Changer
- Conclusion: Your Next Steps